A pot filler is a convenient kitchen faucet designed specifically for filling large pots and containers with water. Installing a pot filler eliminates the need to carry heavy pots of water across the kitchen. This hands-free appliance makes cooking easier and safer.
When designing your kitchen, consider adding this useful fixture. Pot fillers come in various styles to match your décor. Place them near the stove for efficiency. Extend their reach to access pots on the countertop or within the sink. Pot fillers improve workflow and also provide visual appeal.
Benefits of Adding a Pot Filler
Pot fillers offer several advantages for busy home cooks:
| Saves Time and Effort | Carrying a heavy stock pot full of water strains your arms and back. A pot filler does the hard work for you. Simply position the pot and turn on the faucet. This convenience allows you to work more efficiently. |
| Promotes Safety | Full pots are slippery and challenging to grip. Attempting to haul them between sink and stove can cause spills and burns. Pot fillers let you safely fill hot liquids where you need them. This helps prevent dangerous falls and injuries. |
| Increases Functionality | An articulating pot filler extends your water source anywhere along its radius. This allows you to conveniently fill a variety of cookware directly on the range or countertop. Pot fillers are extremely handy for canning, blanching, steaming, and more. |
| Enhances Workflow | Cooking involves many steps between water source and stove. Pot fillers allow you to minimize movements back and forth. With water right where you need it, you’ll save energy over the course of meal preparation. |
| Provides Visual Interest | An architectural pot filler makes a style statement in your kitchen. Like a dramatic focal point, it calls attention to your cooking area. Pot fillers come in a wide range of finishes to coordinate with your décor. |
Pot Filler Design Options
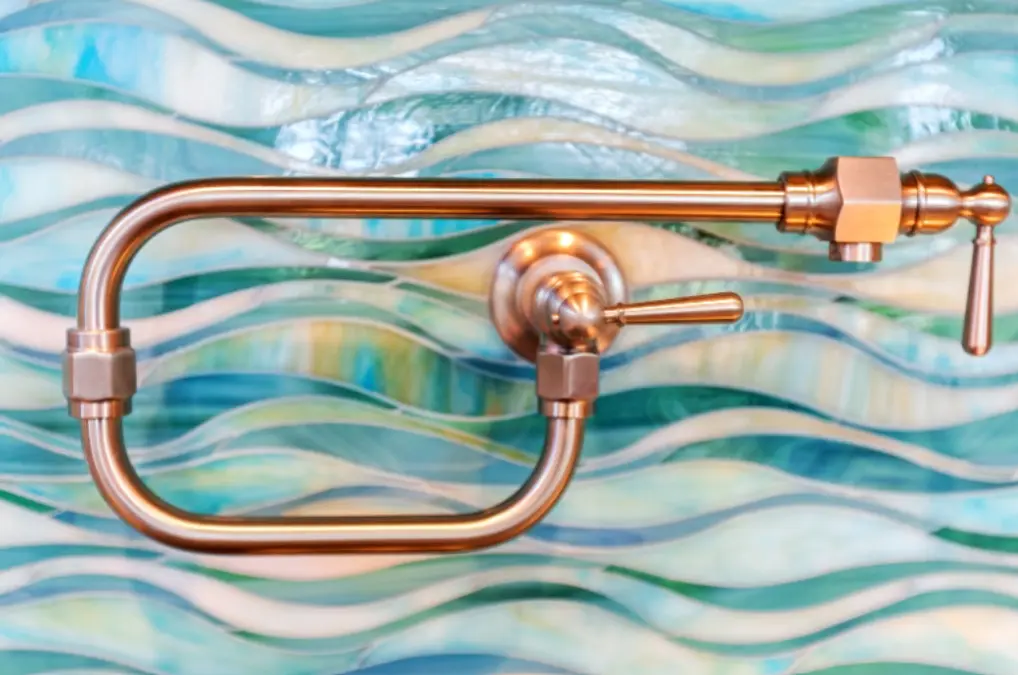
When planning a pot filler installation, consider placement and hardware options to best suit your space.
Placement
Determine the optimal location for your pot filler based on your kitchen layout and how you utilize your cooktop. Typical positions include:
Wall-Mounted
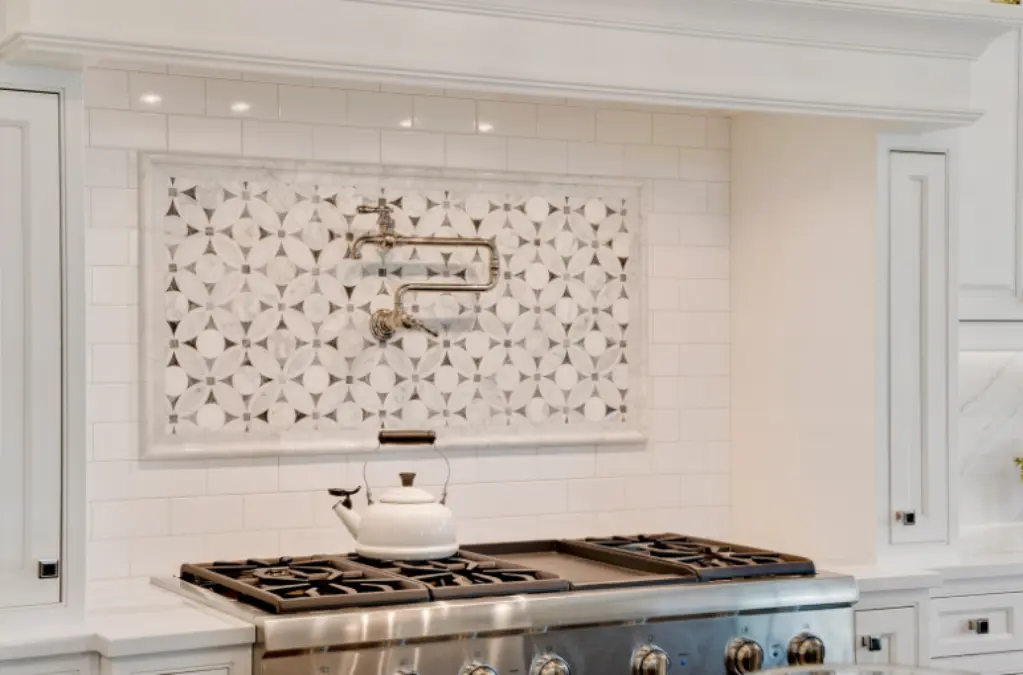
Wall-mounted pot fillers are installed into the wall behind the stove. Their swing arm extends outward over the range. This is the most popular placement since pots can be filled anywhere on the cooktop.
Countertop
For filling very large stock pots, some homeowners opt to mount the pot filler on the countertop near the stove instead of directly behind it. This provides better leverage for handling extremely heavy pots.
Double Ovens
If your kitchen includes double ovens, consider placing the pot filler between them. This keeps it accessible no matter which oven you’re utilizing.
Kitchen Island
For convenience filling pots that you stage on a kitchen island rather than the stove, you can install the pot filler directly into the island across from the range.
Design Styles
Pot fillers come in a range of finishes and designs to integrate beautifully with your existing hardware and style.
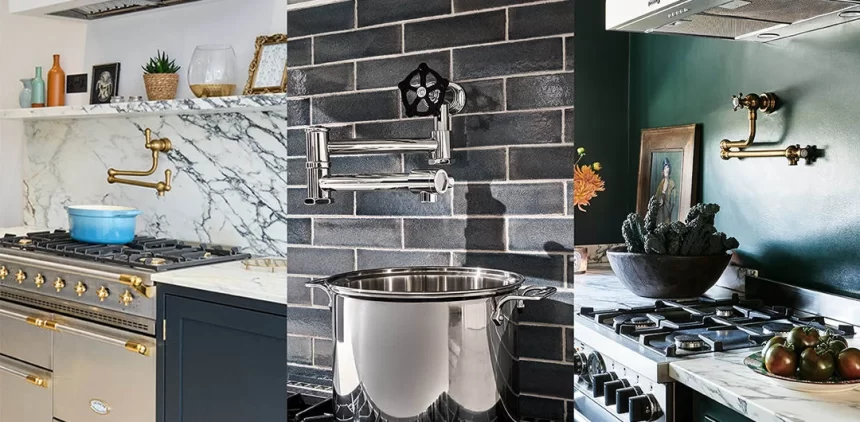
- Traditional Styles: Pot fillers with arched goosenecks and decorative detailing convey a timeless elegance. Materials like polished brass, oil-rubbed bronze, or chrome convey the warmth of an Old World aesthetic.
- Modern Styles: Contemporary high-arc pot fillers in matte black, stainless steel, or nickel provide drama and sophistication to a modern kitchen. Pair sleek shapes with linear pulls and faucets.
- Commercial Style: Restaurants often utilize rugged wall-mounted utility pot fillers in stainless steel. Adapt this utilitarian look by incorporating exposed pipes or a minimalist commercial style faucet into your kitchen design.
- Color Accents: In addition to metal finishes, some pot fillers come in colorful non-metallic finishes like matte black, vibrant brushed nickels, or even living finishes like oil-rubbed bronze that patinas over time. This allows for all kinds of creative expression.
Choosing the Right Pot Filler
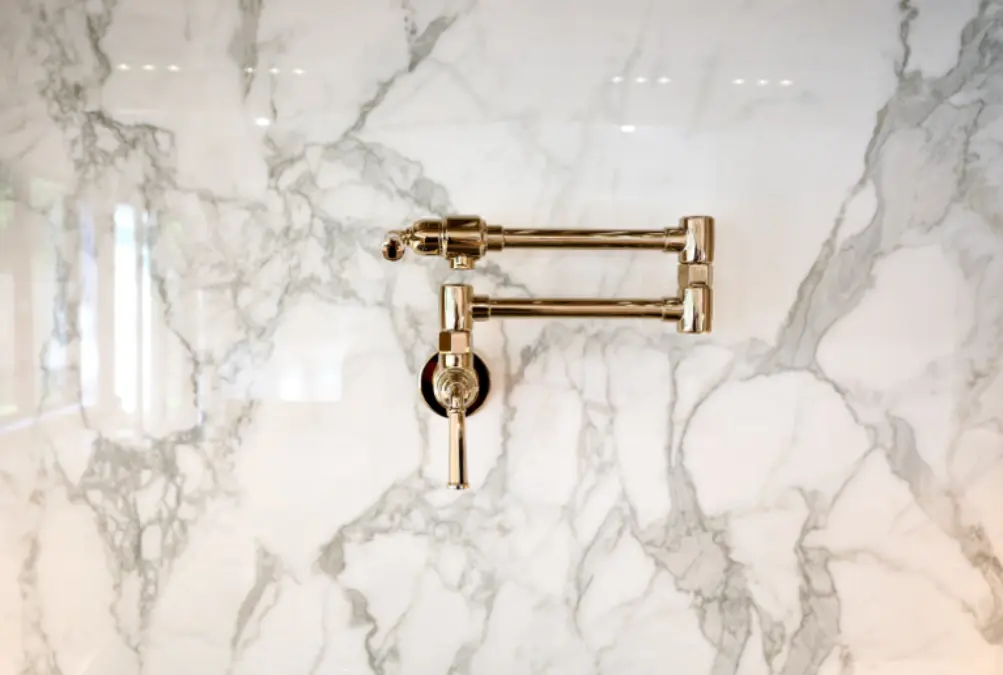
Several factors impact pot filler selection. Assess your needs, budget and style preferences before installing one.
- Water Pressure: Evaluate your home’s water pressure and look for pot fillers designed to handle pressure fluctuations. Ensure any model you choose includes backflow prevention to avoid contamination.
- Spout Height: Consider ceiling height and pots sizes you regularly utilize when determining needed spout height and extension range. Standard pot filler spouts reach 18-24 inches above cooktops. Custom heights are available.
- Swing Arm Range: Ideally, the pot filler swing arm should extend over front burners. Check product specifications for degree of potential movement to ensure your pots can be filled anywhere on the stove.
- Finish: Match the pot filler finish to existing fixtures. Most quality hardware is available in popular finishes like polished chrome, stainless steel, matte black, or nickel. Shop for durable, chip-resistant finishes if pot filler installation requires drilling into stone countertops.
- Styling: Choose a pot filler style that aligns with your kitchen’s overall design scheme, whether modern, traditional, transitional or farmhouse. For a coordinated look, shop an appliance suite offering sink faucets, handles and lighting in the same finishes.
- Special Features: Some pot fillers offer handy features like pull-down spray faucets for food prep, anti-scald protection, dual swing arms for increased range, or a hot water bypass lever for instant access to hot water while filling pots.
DIY Installation Tips
Ambitious DIYers can tackle pot filler installation. For custom placements or challenging construction materials, consider hiring a professional plumber.
Gather Supplies
You’ll need basic tools like a level, tape measure, adjustable wrench, pliers, screwdriver, reciprocating saw, utility knife, and drill. Have shut-off valves, connection hoses, sealant, and mounting hardware ready.
Shut Off Water Supply
Locate water supply lines under the sink or behind walls where you plan to install the pot filler. Turn off hot and cold water shut-off valves for the entire kitchen before proceeding. Release pressure by turning on the faucet.
Plan Mounting Location
Find wall studs for a secure install. Hold the pot filler in place, mark holes, and drill into studs if possible. For non-wall placements like islands, purchase reinforced mounting brackets.
Install Mounting Bracket
For wall placements, use a level and secure provided screws into studs. Test stability before attaching pot filler. For non-wall installs, follow reinforcement bracket directions.
Connect Water Supply
Attach flexible supply lines. Ensure hot connects to hot input and cold connects to cold input. Securely tighten with wrench. Check for leaks once you turn water back on. Address leaks before proceeding.
Adjust Range of Motion
With shut-off valves still closed, swing the arm out and adjust to desired range of motion before fully tightening bonnet nut. Ensure it moves freely without obstruction.
Complete Install
Turn on water supply and open faucet to release air from the lines. Assemble any handles, levers or finishing caps. Verify proper operation and enjoy your new pot filler!
Pot Filler Ideas for Kitchen and Garden
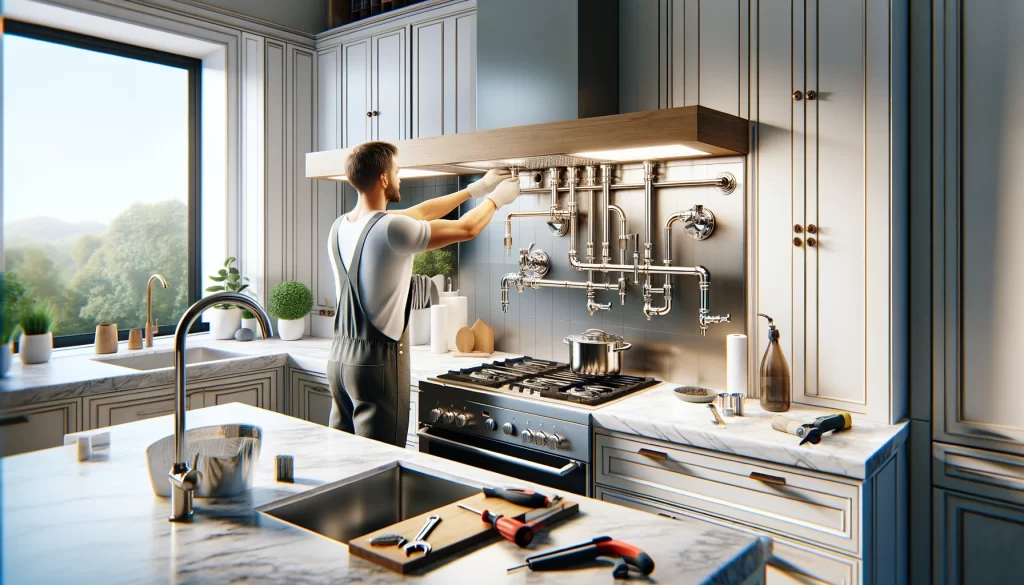
Beyond basic stove installations, creative applications make pot fillers even more useful.
Add to Kitchen Island
Fill large pots for food prep right on your kitchen island. Wow guests by boiling lobsters or preparing soups tableside. Hide plumbing discreetly within cabinets for a clean look.
Incorporate into Outdoor Kitchen
Entertain often? Add a pot filler to your outdoor kitchen setup. Fill cauldrons by the firepit or keep melted chocolate flowing at a fondue station. Make sure to account for temperature fluctuations.
Install Near Gardening Station
Avid gardeners will appreciate a pot filler station for watering plants without lugging heavy cans across the yard. Use CSA bounty more easily by installing one near raised beds or greenhouse entries.
Create Poolside Pasta Station
Host Italian-themed parties with an outdoor poolside pasta pot. Guests can watch you boil noodles or make fresh ravioli on demand with a pool deck pot filler. Ensure kids understand hot stove dangers.
Set Up Craft Room Slop Sink
For messy art or DIY projects, add a utility sink and pot filler to the garage or basement. Quickly wash paintbrushes, dye buckets, clay tools or messy hands when inspiration strikes.
Additional Pot Filler Placement Ideas
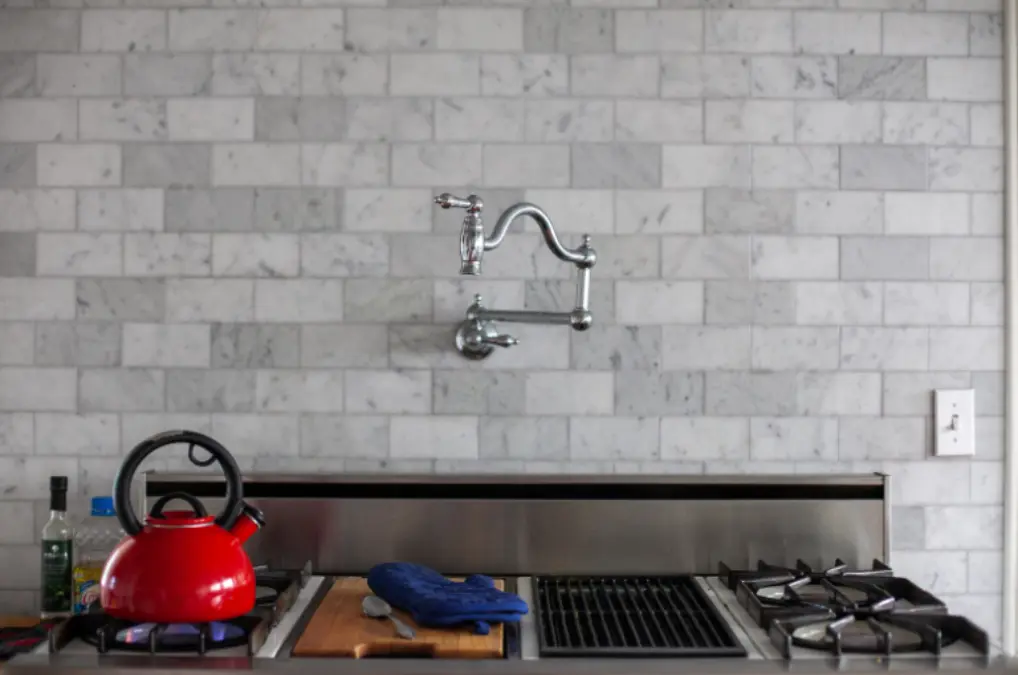
Beyond the standard placements next to a stove or kitchen island, get creative with spots to install a pot filler in your home. Consider these unique ideas:
- Laundry Room: Fill large buckets and washing basins easily by mounting a pot filler near laundry room sinks. Soak stained items or prep special laundry solutions without lugging water.
- Next to Stand Mixer: Avid bakers will appreciate a pot filler placed right next to their stand mixer and baking prep area. Easily melt chocolate or fill mixing bowls with water without disrupting your workflow.
- Inside Pantry: Install a space-saving retractable pot filler inside your pantry near where you store large pots and pans. You’ll have hot water access even with the pantry door closed.
- Breakfast Nook: Entertain guests by installing a pot filler in your breakfast nook or banquet area. Createmade-to-order oatmeal bowls, hot chocolate, or tea whenever you want.
- Home Bar: Add a pot filler behind your home bar near beer taps and beverage stations. Easily fill pitchers, sangria bowls and ice buckets without leaving your post.
- Mud Room: In snowy climates, mount a pot filler near boot removal benches and coat hooks so you can conveniently fill buckets to dissolve ice melt off accessories and pets’ paws.
- Chicken Coop: Homesteaders with backyard chickens will love the convenience of a pot filler for filling water cans and cleaning coops. No more lugging hoses through muck!
Unique Pot Filler Design Ideas
In addition to expected brass, chrome and stainless steel, pot fillers now come in unexpected materials and shapes to make a design statement.
| Vintage Style | Reproduction pot fillers mimic charming turn-of-the-century styles like exposed pipes with cross handles or ornate goosenecks. Add vintage appeal to cottage kitchens. |
| Rustic Finishes | Rough brass, copper, or nickel finishes pair beautifully with natural wood or stone elements. Choose hammered metals or rivet details for added texture. |
| Colorful | Available in matte shades like navy, red, green and orange, colored pot fillers add pops of brightness to monochromatic schemes. Coordinate with cookware colors. |
| Flexible Goosenecks | Flexible goosenecks with multiple adjustment points allow for the greatest range of motion. Place pots precisely where you want them within a wider arc. |
| Extra-Long Spouts | Extend filling range even further with extra-long horizontal spouts in excess of 5 feet long. These specialized pot fillers can accommodate every burner on an extra-large range. |
| Hot and Cold Handles | Some units come with dedicated hot and cold water lever handles within fingertip reach. This makes temperature adjustments convenient while filling each pot. |
| Pull-Down Faucet | Ideal for prep tasks, pot fillers with pull-down spray faucets give you extended reach. Use the hose end nozzle to swiftly rinse veggies, fill vases or clean stovetop spills. |
| Articulating Swing Joints | High-end designs allow articulation at both the wall mount and midpoint of double-swing arms. More pivot points increase hot water access across wider cooking surfaces. |
| Smart Technology | Top-of-the-line pot fillers offer WiFi and app connectivity, voice controls and exact temperature regulation via digital displays. Program preferences for one-touch filling. |
Pot Filler Maintenance Tips
Proper care keeps your pot filler working smoothly for years. Implement these handy maintenance practices:
- Wipe Down After Use: After each use, wipe down the pot filler including the spout, handle and swing arm to prevent mineral deposits and grime buildup.
- Regular Descale Treatment: Hard water takes a toll on fixtures like pot fillers. Provide regular descale treatments to remove mineral deposits and keep water flowing freely.
- Protect Finish: To keep specialty finishes pristine, occasionally apply thin protective coats of food-grade wax or polish made specifically for kitchen hardware finishes.
- Check Connections: Ensure supply line connections remain securely tightened at least yearly to prevent leaks or supply issues. Tighten with a wrench if any fittings feel loose.
- Test Swing Arm: Open and close the swing arm periodically to verify full articulation. Adjust if range feels obstructed. Lubricate joints as needed per manufacturer instructions.
- Inspect Mounts: Wall mounts and extension braces can loosen over time. Inspect at least yearly for stability. Tighten mounts or reinforce as needed to prevent accidents.
- Change Supply Lines: Rubber supply lines wear out faster with regular movement. Replace flexible pot filler hoses at least every five years.
- Update Finish: If finish degrades or you want a fresh look, pot fillers can be refinished by homeowners or professionals. You can spray paint, replate, or change hardware.
Common Pot Filler Problems
Even quality pot fillers may occasionally malfunction or drip. Try these troubleshooting tips before calling a plumber:
| Leaky Valves | Tighten the faucet cartridge collar nuts with adjustable pliers or a basin wrench. Ensure rubber O-rings remain intact. Replace cartridges if needed. |
| Spout Drips When Closed | Remove outlet spout with a wrench, inspect internal O-rings, clean seating surfaces, and reinstall. Replace O-rings if cracked or flattened. |
| Loose Fixture Joints | Reinforce wall mounts with extra toggle bolts drilled into studs if necessary. Internally, joint nuts likely need tightening with a wrench. |
| Mineral Buildup | Soak fixtures overnight in diluted white vinegar, use a toothbrush to gently scrub deposits, rinse well and buff dry. Avoid scratching finishes. |
| Limited Swing Arm Mobility | Check for obstructions behind wall impeding movement. Detach supply lines and remount if necessary to change position. |
| No Flow From Hot Side | Shut off water supply lines and disconnect hot valve connection. Unclog supply tubes with a wire. Replace if necessary. |
Conclusion
A pot filler eliminates heavy lifting while cooking, canning, or tending gardens. Consider creative ways to incorporate this useful appliance into your indoor and outdoor living areas. With so many design options, you can easily find an optimal pot filler to match your personal taste and maximize efficiency.

