
Starting plants from seeds can be an affordable way for home gardeners to get a lot of vegetable and flower seedlings. However, the traditional seed starting method of using plastic cell packs or peat pots has some downsides.
These can include:
- Seedlings struggling with stunted roots or getting root bound
- Lots of plastic waste created
- Time spent transplanting each seedling
So what’s the solution? Enter soil blocking – an easy, eco-friendly way to start seeds that creates better seedlings. This beginner’s guide covers everything you need to know to get started with this game-changing technique.
What is Soil Blocking?
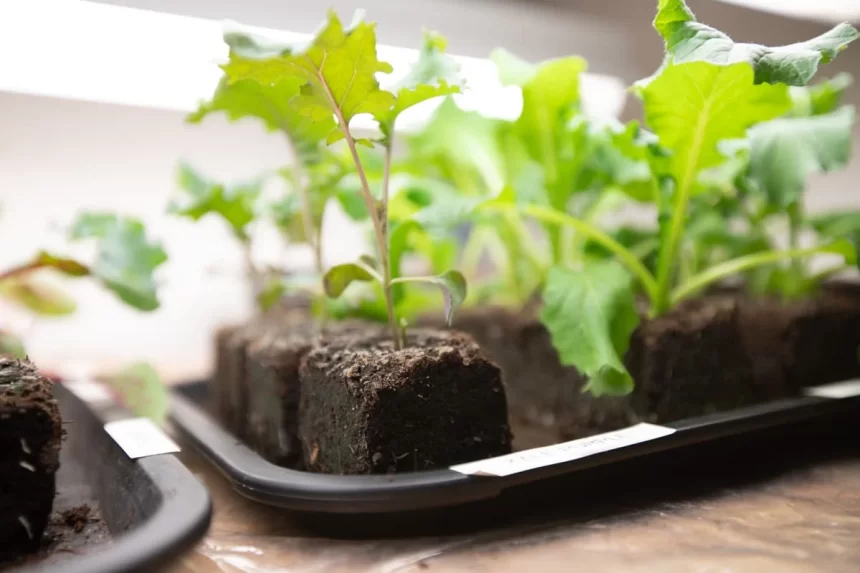
Soil blocking is a method of starting seeds by compressing moist soil mix into dense blocks. After sowing seeds into the blocks, they can be bottom-watered as needed until transplant time.
The soil blocks fully break down once planted in the ground, eliminating root disturbance. This allows seedlings to transition seamlessly from the block to the garden bed or container.
Soil blocks are formed using specially designed hinged block makers. These tools compress soil into blocks with small indentations perfect for dropping in seeds.
Benefits of Using Soil Blocks

Compared to starting seeds in traditional seed starting containers, using soil blocks has numerous advantages:
Promotes Excellent Root Growth
Instead of spiraling around inside plastic cells or peat pots, roots grow unimpeded when sprouted in soil blocks.
The air pruning that occurs along the edges of the block promotes the growth of secondary feeder roots. This results in stocky seedlings with dense root systems.
Such great root formation makes it easier for seedlings to quickly establish after transplanting.
Minimizes Transplant Shock
Bare root soil block seedlings experience little to no transplant shock when planted out. Without a solid container wall to break through, roots seamlessly exit the decaying block and move into surrounding soil.
Reduces Waste
Most seed starting options like peat pellets, pots or cell packs get thrown out after use. But soil blocking leaves no plastic waste behind.
The blocks naturally fall apart in the soil as seedling roots grow into their permanent location. The block medium returns to the earth, eliminating extra trash.
Saves Time
Transplanting individual seedlings from their cells or containers is tedious and time consuming. But with soil blocking, entire blocks can be picked up and planted out.
Also no pre-moistening is required before seeding. Simply sow seeds and bottom water blocks as needed.
Allows Good Air Circulation
The gaps between soil blocks allow better airflow than crowded seedling trays. This airflow decreases issues with mold or diseases forming on damp seedlings.
Getting Started With Soil Blocking

Interested in how this earth-friendly seed starting method works? Here’s an overview on how to start using soil blocks with your garden seeds:
Choose a Soil Blocker
The key piece of equipment needed is a hinged soil blocker set. These can be easily found online or at some garden stores.
Popular options are:
- Small soil blockers – Makes blocks approximately one inch wide, perfect for starting small seeds
- Large blockers – For bigger veggie starts or flowers, makes 1.5 to 2 inch blocks
- Multi blocker sets – Comes with different sized blockers to accommodate all seed types
High quality blockers will last for years and make uniform blocks. Look for strong durable metals like steel in construction.
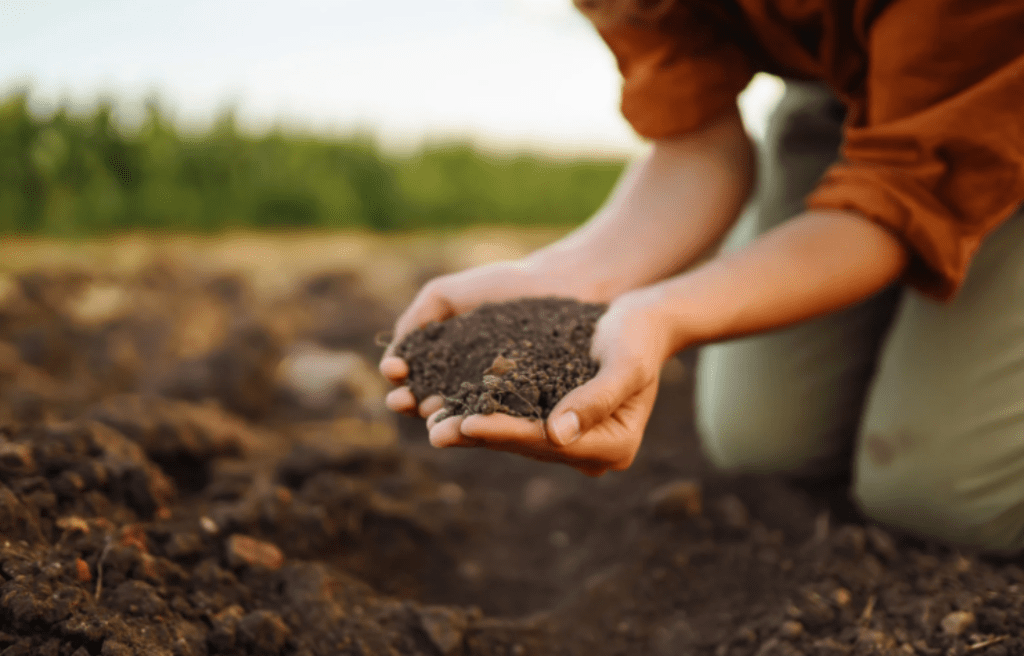
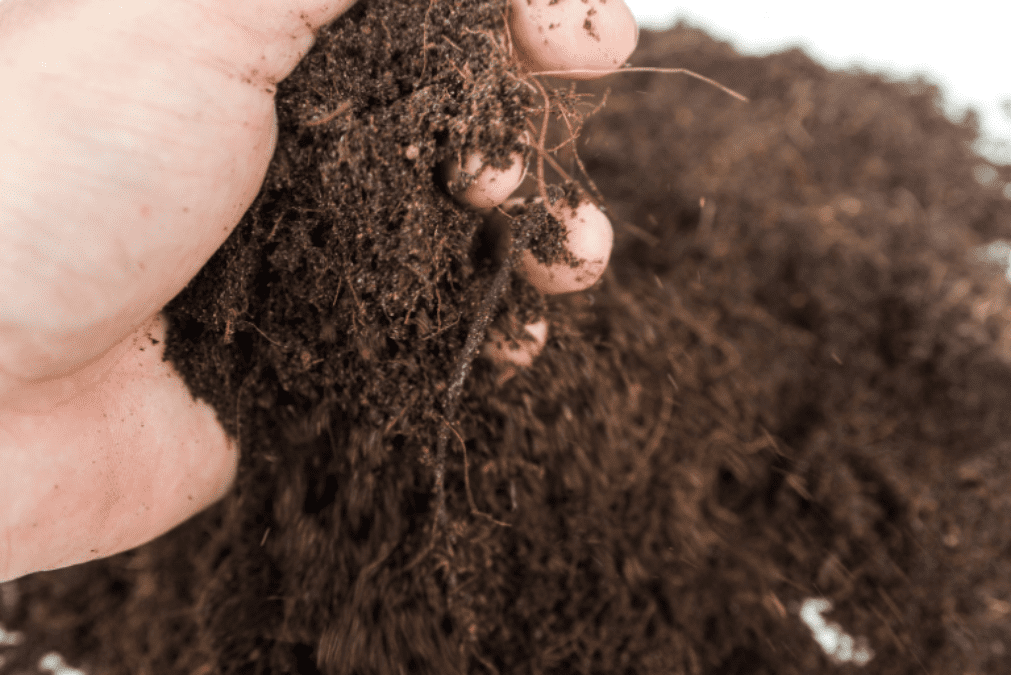
Prepare Blocking Mix
Any seed starting mix can technically be used. But a special lightweight mix helps blocks hold their shape while still allowing healthy root penetration.
A good recipe is equal parts peat or coco coir, vermiculite and compost. Some gardeners also add in perlite or grass clippings.
Before blocking, moisten mix with warm water until crumbly. It should clump together slightly when squeezed but not be soggy.
Make the Blocks
Assemble your blocker set over a tray or table covered in plastic wrap. Scoop moist mix into blocker, pack it in tightly, then eject the finished block onto the wrap.
Repeat, refilling and compressing out more blocks. Arranging them bottom sides together lets water wick evenly through an entire section later.
Seed the Blocks
Use a toothpick or skewer to make indentations into the block tops. Carefully place seeds into holes, then lightly sprinkle more mix or vermiculite over seeds to cover.
Label blocks with seed type and date. Place seeded blocks back into lined trays, water thoroughly from the bottom and cover trays with plastic tents to maintain humidity.
Grow On!
Once sprouted, remove humidity covers and bottom-water blocks only as needed to prevent drying out. Give seedlings adequate sunlight and ventilation as they grow.
Harden off plants before transplanting entire blocks into gardens after frost danger passes. Add extra compost or fertilizer to backfill holes for nourishment. Then watch your perfectly primed seedlings take off!
Regional Soil Blocking Considerations
The basic soil blocking process remains the same no matter where you live. But certain regional factors like climate can impact timing and details.
Hot and Humid Climates
Gardeners in zones 8, 9 and above need to focus on venting excessive heat and moisture that can trouble seedlings and blocks.
- Make sure to use lightweight, fast-draining media in mix to prevent sogginess
- Water only when top of blocks become dry to touch
- Monitor humidity levels daily, vent trays when condensation builds up
- Harden off gradually before transplanting into equally warm gardens
Cool and Wet Climates
Colder northern garden zones with excessive rain and mist pose their own challenges.
- Choose sheltered, semi-enclosed areas for block trays to protect from heavy rains
- Incorporate more perlite into mix to encourage drainage and airflow
- Use heating mats and grow lights to maintain consistent warmth for steady growth
- Transplant quickly into well-drained beds, add soil warming elements if needed
Dry and Windy Areas
Arid climates with lots of drying winds require vigilance against moisture loss.
- Group block trays together and shelter them behind makeshift wooden walls
- Use humidity domes longer when hardening off
- Mist block trays daily using a spray bottle if winds persist
- Plant into soil with more organic matter to retain water better
Adjust techniques like these based on seasonal variations too. Wherever you garden, adapt methods to help delicate seedlings thrive.
Creative Variations Beyond Soil Blocking

While soil blocking works beautifully for starting vegetable and flower seeds, some gardeners like to tweak the method further. Try these creative variations once you master the basics:
Make Decorative Seed Blocks
Why not have your seed starting blocks be decorative too? Press blocks in fun shaped molds like hearts or stars instead of boring squares. Or imprint designs into block tops using homemade stamps before seeding.
Blooming spring blocks can brighten windowsills and transitions beautifully to garden beds later on.
Craft Mini Herb Gardens
Instead of potting up a bunch of individual herb seedlings, arrange several seeded soil blocks together in trays to create mini culinary gardens!
It takes up less space and looks tidy inside until ready to transplant entire sections out come summer. Mini herb gardens also make great gifts.
Design Artful Block Arrangements
Soil blocking lends itself beautifully to creating living sculptures and art installations too.
Get creative with stacking blocks in artistic designs. Allow seeded vegetables and flowers to grow intertwined together into beautiful living artworks before relocating compositions outside.
Let these ideas spark inspiration on how to make your soil blocking unique. Getting creative with variations keeps the seed starting process fresh and fun every year!
Tips for the Best Soil Block Success
It may take a few tries to master the soil blocking process. Here are some top troubleshooting tips:
- Make sure blocking mix is moist but not soaked before pressing blocks. Too dry and blocks crumble, too wet and they get muddy.
- Pack mix very firmly into blockers to help blocks hold shape. Press hard on the lever when ejecting finished blocks out.
- If block edges start drying out and cracking early on, they may need more humidity. Try covering with plastic longer or grouping blocks closer together to retain moisture.
- To avoid mold or rot, don’t overwater blocks after seeding. Always bottom-water only as needed until transplant time.
- Gently turn over sprouted blocks to check root growth along the bottom edges. Healthy white roots signal it’s time to transplant into soil.
With attention to these soil blocking details, you’ll see excellent seed starting results.
Getting Seedlings Off to a Great Start
Part of the beauty of soil blocking is it sets up plants for success right from the beginning.
Following proper techniques of preparing mix, efficiently pressing uniform blocks, sowing seeds, maintaining moisture levels and knowing when to transplant makes a real difference in seed starting.
Seedling roots get to steadily grow downwards in soil from day one. No tangling in plastic containers means less check to early growth.
Bottom-watering properly and keeping humidity high creates ideal germination chambers until first shoots emerge.
When it’s finally time to set transplants out into garden beds, soil block seedling roots transition seamlessly into the surrounding earth without disruption. No root shock means vegetables and flowers can concentrate on growing upwards vigorously.
So dive into soil blocking this season for way easier seed starting! Your garden will thank you later for raising such healthy transplants.
Soil Block Problems
Soil blocking produces great seedlings with much less hassle compared to other starting methods, it does come with a learning curve.

Review these common soil block problems and solutions so you can troubleshoot any issues quickly:
Blocks Too Dry and Crumbling
The Problem: Blocks start falling apart soon after pressing. Seeds don’t germinate or sprouts die off from dryness.
The Solution: Mix needs more moisture before pressing. Spray blocks daily to increase humidity. Or cover seeded trays with plastic tents.
Blocks Stay Too Wet
The Problem: Excess moisture makes blocks heavy and mushy. Mold forms, seeds rot and roots develop poorly.
The Solution: Incorporate more perlite or vermiculite into mix to improve drainage. Allow blocks to fully dry out between bottom waterings.
Uneven Seed Germination
The Problem: Seeds sprout sporadically over a few weeks instead of uniform germination.
The Solution: Ensure mix has consistent moisture and blocks offer even contact. Maintain optimal growing temperatures for that species after seeding.
Weak Leggy Seedlings
The Problem: Seedlings stretch tall with weak stems and sparse leaves.
The Solution: Give blocks plenty of direct sunlight immediately after sprouting. Use grow lights to augment natural light levels.
Correct problems quickly by making suitable block adjustments. Soon you’ll get a feel for this method and have uniform blocks of thriving seedlings!
Frequently Asked Soil Blocking Questions
No, old blocks should be broken up and composted at the end of each season once seedlings get transplanted. Aged blocks lose their structure integrity. Fresh blocking mix needs to be wetted, compressed and seeded each time you sow a new batch of seeds.
For best results, press blocks and sow seeds on the same day. Or pre-made blocks can be stored for a few days by keeping them in air-tight containers in the refrigerator. But they still need to be seeded and germinated quickly to prevent degradation issues.
No pre-germination needed! Just carefully press seeds into indented areas of freshly made blocks. Once covered with soil and kept warm and moist, they will sprout right in the blocks.
Check blocks daily by lifting up and checking soil moisture with your finger. Water thoroughly from the bottom tray whenever top inch becomes dry to the touch. Avoid top watering blocks to prevent washing seeds away.
Extra nutrients generally aren’t needed while seeds start in fresh soil mix. But an organic liquid fertilizer could be added sparingly to block bottom waterings for a boost once sprouted and growing. Don’t overfeed too early while seedlings are still delicate.
If blocks are falling apart too easily, the problem is likely due to soggy soil or weak block compression. Try to make mix drier before pressing. And place blocker over firm stack of blocks while levering down tightly to keep block integrity intact.
Conclusion
Soil blocking for seed starting shouldn’t seem so mystical anymore. Follow the tips outlined and you’ll see clearly how this method helps develop thick nets of roots on stocky seedlings.
The basic gear needed – blockers, trays and mix – are easy to use and set up for success. Saving gardeners time, producing less waste and giving baby plants the healthiest possible beginnings are what make soil blocking a game changing technique for starting seeds.
Don’t let plastic seedling cells or peat pots limit your seedlings any longer! Embrace this natural way of sprouting new life to transplant out to flower and vegetable gardens. Strong yet gentle on fragile roots, soil blocking really nurtures seeds to thrive right from the start.
Try out this eco-friendly approach this season if you’re looking for an easy way to get a lot of robust transplants. Follow the directions outlined here, troubleshoot issues with the tips provided and soil blocking will soon be your new go-to seed starting method!