
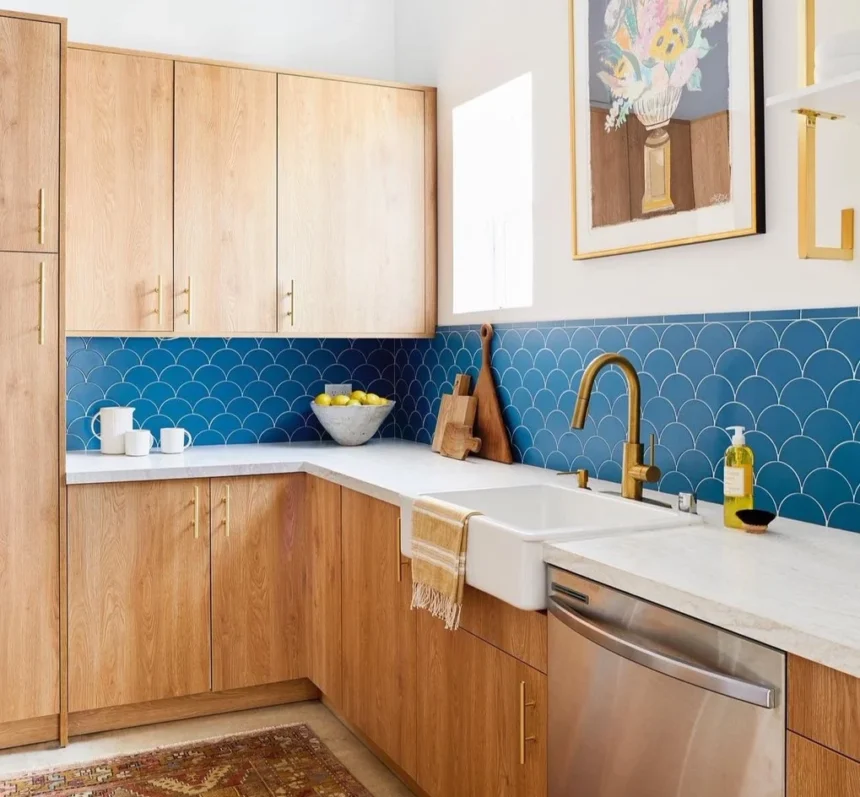
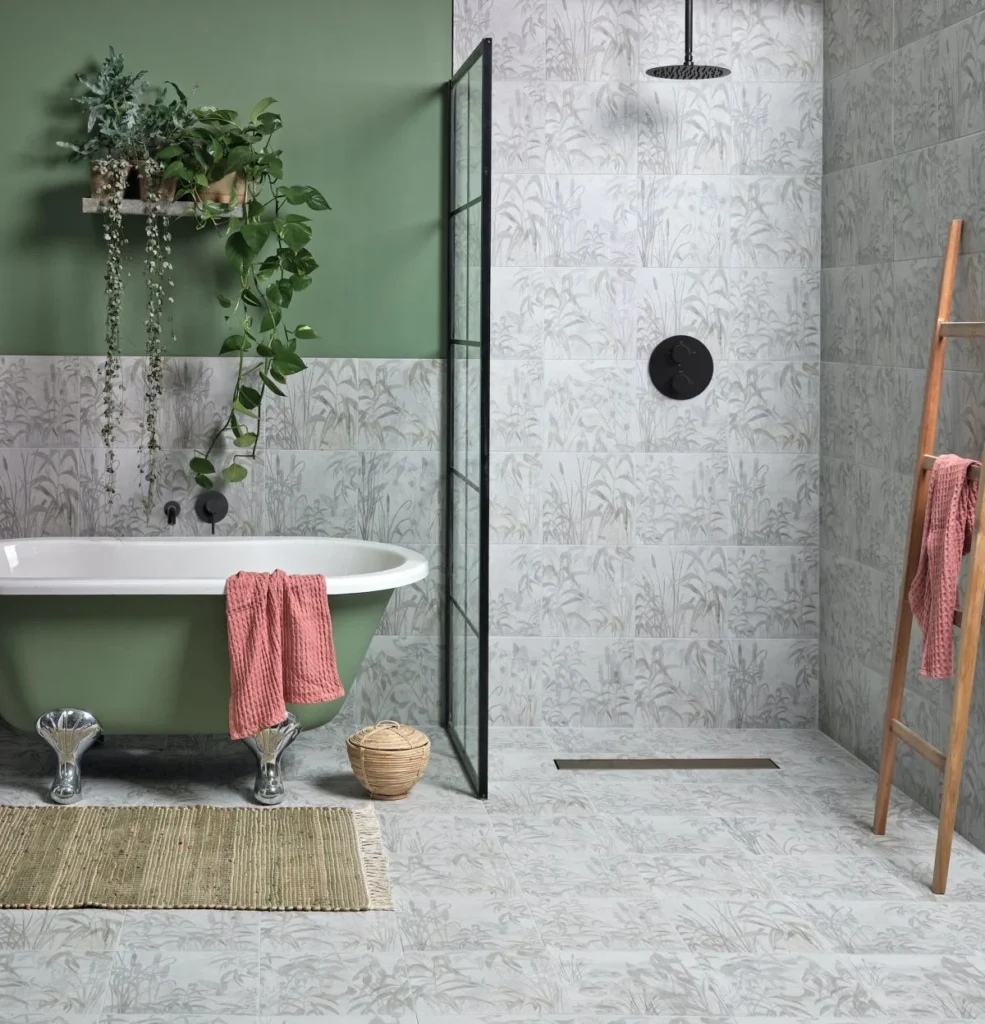
That tile backsplash can start looking rough, with cracked grout, faded colors, or just beat up from years of grease and splatter. Painting it yourself is a solid way to shake things up without tearing it out or blowing cash, giving your kitchen or bathroom a new feel. It’s not some fancy pro gig; with the right stuff and a bit of hustle, you can slap on a fresh coat and make it pop. This ain’t about perfect edges, it’s about grit, some elbow grease, and covering up the ugly to lift your space. Here’s how to do it, step by step, with real tips to keep it solid.
See If It Can Take Paint
First, check if your backsplash is up for this. Glossy ceramic or porcelain tiles can handle paint if they’re solid, but if they’re cracked or have deep grooves, you might need new ones. Tap them with your knuckle—if they sound hollow, they’re loose and need fixing. Skip this if it’s behind a sink with no shield and gets soaked daily—paint won’t last there. If it’s just stained or old-looking, you’re set. Take a minute to look it over; this stops you from wasting time on a dud job.
Get Your Tools Together
You don’t need a truckload of gear, but grab the right stuff. Pick up a tile primer (like Zinsser Bulls Eye), a paint for tiles (oil-based or epoxy, like Rust-Oleum Tile), a small roller with a 3/8-inch nap, a fine brush, 120-grit sandpaper, painter’s tape, drop cloths, a sponge, and a sealant (polyurethane or tile kind). Toss in a screwdriver for outlets and a dust mask. Hit a hardware store or online—should run you $50-70, way cheaper than new tiles.
Scrub It Hard
Grease and grime will ruin everything—paint won’t stick to a dirty tile. Scrub it down with a degreaser like TSP or a vinegar-water mix (half and half), using a sponge or old toothbrush to hit grout lines. Rinse with warm water and let it dry at least 4 hours—overnight if you can. Wipe with a tack cloth to catch dust. Skip this, and your paint’ll peel fast, so don’t slack—turn on some music and make it a grind.
Rough It Up
Glossy tiles need a little scratch to hold paint. Grab 120-grit sandpaper and lightly scuff the surface—don’t go nuts, just dull the shine. Stick to flat parts; leave deep textures alone. Wear a mask so you don’t eat dust, then wipe it with a damp rag. Takes 20-30 minutes for a normal backsplash, but it’s a must—unsanded tiles will shrug off your paint.
Slap On Primer
Primer’s what makes it stick. Use a tile primer like Zinsser and roll it on with a small roller for big areas, brushing edges and grout with a fine brush. Keep it thin—thick blobs crack. Start at the top corner, roll down, and don’t overlap too much. Dry time’s 2-4 hours; check the can. This seals the tile so paint doesn’t soak in weird. If the tiles are super shiny, a second coat helps—wait another 2 hours.
Choose Your Paint
Not every paint cuts it—go for oil-based or epoxy stuff made for tiles, like Benjamin Moore Floor & Patio or Rust-Oleum Tile. These take heat and wear better than regular paint. Pick a color that stands out—matte or satin hides bumps, glossy shows them. Test a small spot first; if it dries patchy, switch it up. A quart covers 100-150 square feet, so measure your backsplash to not run dry.
Lay Down the First Coat
Time to paint. Tape off counters, outlets, and walls with painter’s tape, and throw down drop cloths for drips. Use the roller on flat tiles, brushing edges and grout with a fine brush. Work top to bottom in chunks, keeping strokes steady. Don’t drown the roller—thin coats beat thick ones. It’ll look rough; that’s fine. Let it dry 4-6 hours—crack a window for air and to cut fumes. Patience here keeps it from flaking.
Hit It With a Second Coat
When the first coat’s dry, go for another. Same deal—roller for big spots, brush for details, top to bottom. This evens out the mess and adds punch. Check under good light for skips—fix them with the brush. Dry time’s still 4-6 hours; don’t rush or it’ll peel. If it’s still light, a third coat’s okay—wait the same between. This locks in the fresh look.
Lock It With Sealant
Paint alone won’t hold up—sealant’s the shield. Grab a clear polyurethane or tile sealant (like Minwax) and brush or dab it on with a foam applicator. Keep it thin, brushing one way to dodge bubbles. Dry 2 hours, then add a second coat if you want more protection—wait another 2 hours. This stops grease and water from messing it up. Cure time’s 24-48 hours before heavy cooking, so lay off the stove for a bit.
Keep It Looking Good
Your backsplash needs some care to stay sharp. Wipe it with a damp cloth and mild soap—steer clear of bleach or tough cleaners that eat the sealant. Check for nicks monthly; touch up with extra paint and reseal if it’s rough. Don’t scrub hard—use a soft sponge. If you cook a ton, vent the room to cut grease. Done right, this can hold 3-5 years before a redo, saving you a bundle.