

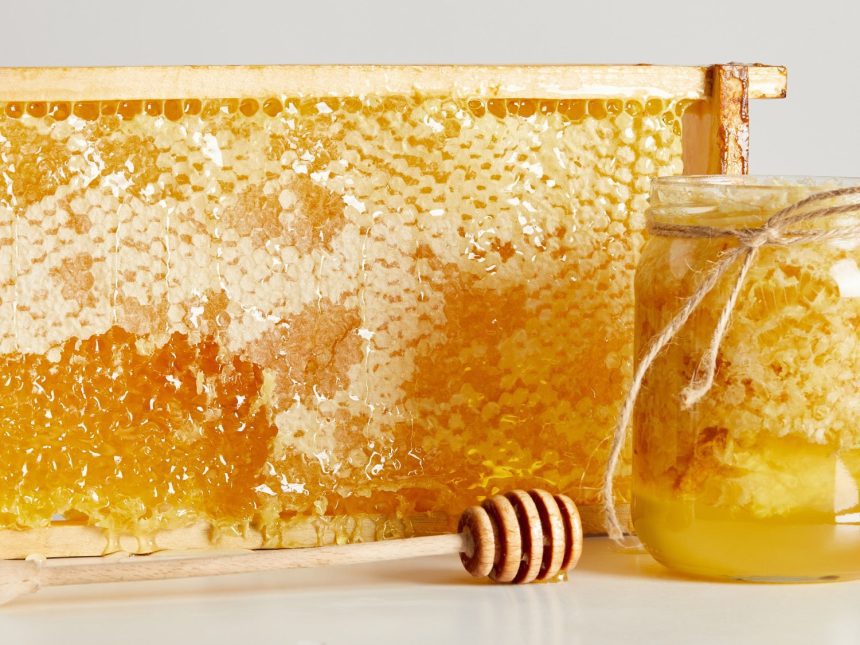
Beeswax is a natural material that can be used to make lots of different things, like candles, makeup, wood polishes, and healing creams. If you keep bees or can get raw beeswax, cleaning it yourself lets you make sure the wax is pure and good quality. Cleaning beeswax means melting it and straining out dirt, trash, and leftover honey. What you get is pretty, golden beeswax that’s ready to be made into all kinds of useful and nice-looking things.
In this article, I’ll show you the easy steps to clean your own beeswax at home with just a few basic tools. Get ready to have fun making stuff with beeswax you cleaned with your own two hands!
Necessary Equipment
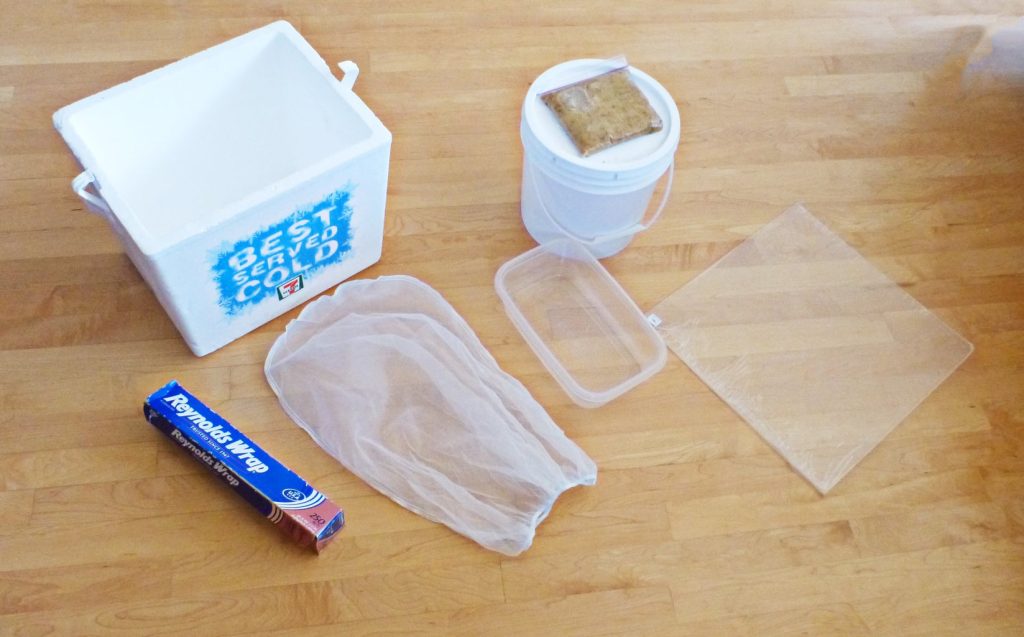
Rendering beeswax doesn’t require much specialized equipment, but having the right supplies will make the job much easier. Here’s what you’ll need:
- Double Boiler: A double boiler with two pots is essential for melting beeswax safely at the proper temperature without burning or scorching. You’ll use the double boiler throughout the rendering process.
- Thermometer: Use a thermometer to monitor your wax temperature and keep it between 145°F to 165°F. This will allow thorough melting without damaging the wax.
- Stainless Steel Strainer: You’ll need a fine stainless steel strainer or cheesecloth to filter out debris and impurities once the wax is melted.
- Gloves & Safety Equipment: Beeswax rendering requires pouring boiling wax, so gloves and other skin protection are a must. Safety glasses and a mask are also good precautions against splattering wax.
- Metal Pouring Pitcher: A stainless steel or enameled metal pitcher allows easy, safe pouring of the melted wax into molds.
- Molds: Choose heat-safe molds made of silicone, metal or wood to hold the melted wax and form blocks as it cools and hardens.
- Knife: Keep a knife on hand to trim wax blocks and scrape equipment. Stainless steel is ideal to withstand hot wax.
Processing Steps

Once you have the necessary rendering equipment, follow these key steps:
Step 1: Break Up Raw Beeswax
Start by breaking up chunks and comb of raw beeswax from hives to make melting easier. Cut or break into thumbnail sized or smaller pieces. Any bigger can inhibit thorough melting.
Step 2: Melt the Beeswax
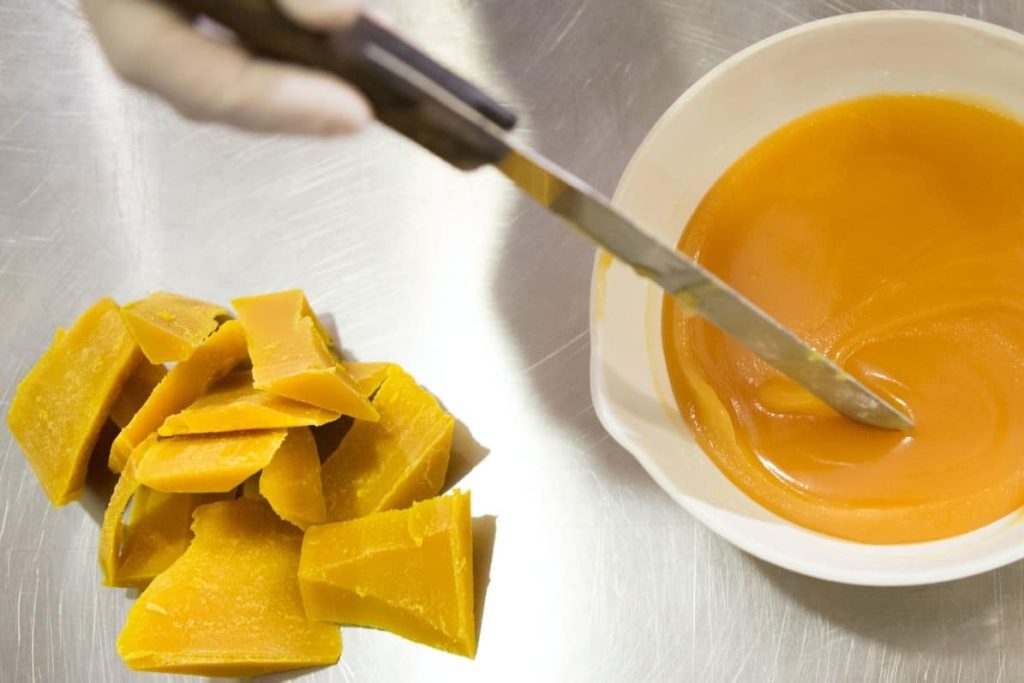
Place your beeswax pieces into the top pot of your double boiler and fill the bottom pot with 2-3 inches of water. Heat the water to boiling then lower to a gentle simmer. Stir the wax frequently as it melts. Keep your thermometer in the wax and maintain 145°F to 165°F temperature. Melting may take 1-2 hours depending on volume. All pieces should be nearly fused with no visible raw wax remaining before you proceed.
Step 3: Filter Liquid Beeswax
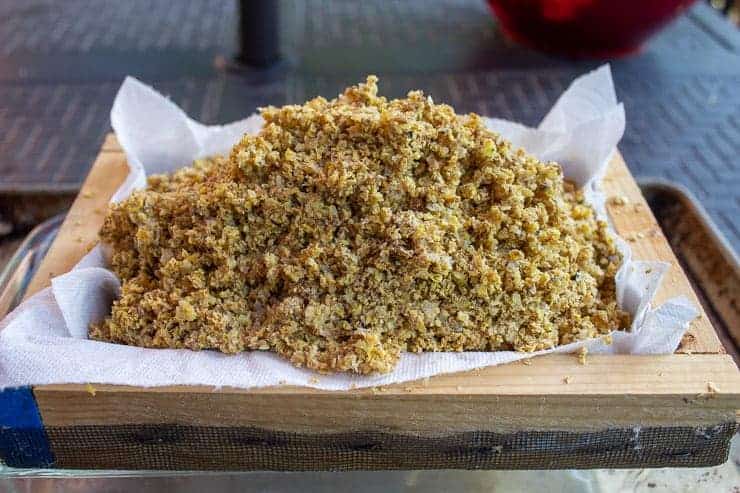
Line a stainless steel strainer with tightly woven cheesecloth. Position it over your pouring pitcher and carefully pour the hot liquefied wax through the strainer. Filter slowly, allowing the wax to flow through the cloth while debris and residue are caught. Scrape the bottom of the strainer periodically to prevent clogging.
Step 4: Pour into Molds
Once strained, use hot pads or gloves to carefully pour your purified liquid wax into silicone molds, allowing 1 inch rise minimum. Alternatively, pour a thin layer across a sheet pan lined with parchment paper. Set molds aside undisturbed as it cools. This may take 24 hours.
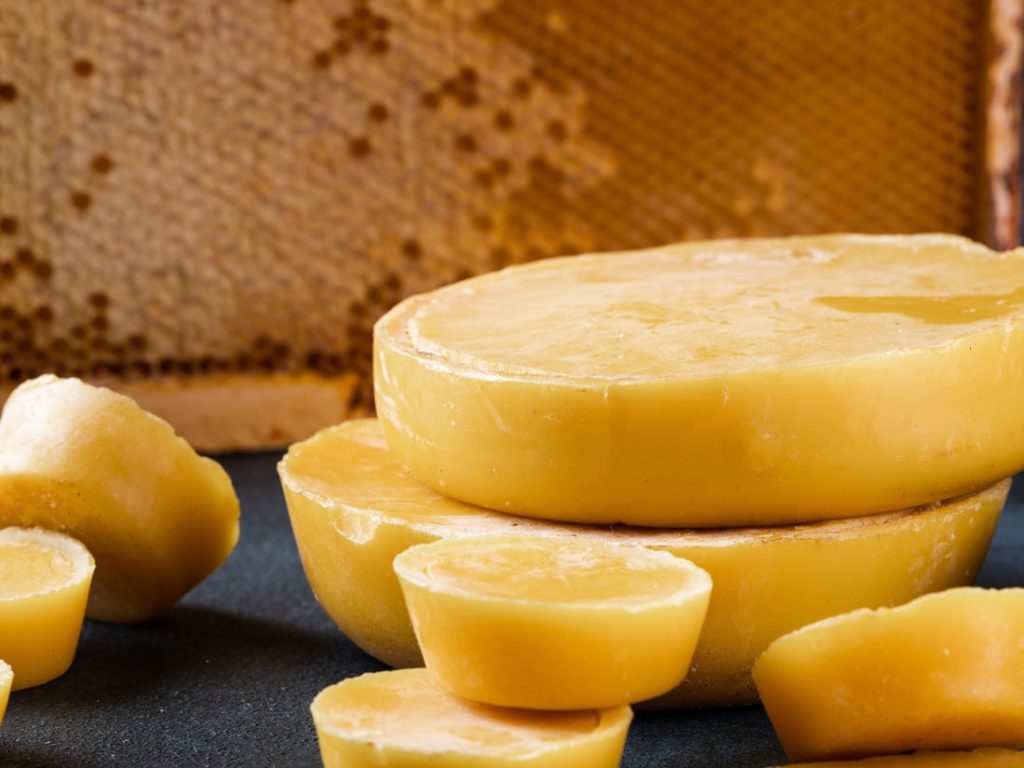
Step 5: Unmold Finished Blocks
Gently turn your molds over to release solid wax blocks. Peel the parchment paper away if you used a sheet pan and break the cooled wax into chunks. Trim edges with a knife to remove ragged pieces or imperfections.
Step 6: Clean Equipment
While the wax is still warm in your double boiler, use a knife to scrape and remove residue stuck on the pots, thermometer and any other rendering equipment you used. This prevents build up and saves wax.
And that concludes the rendering process! You now have beautiful blocks of clean filtered beeswax ready for all your projects.
Storing Rendered Beeswax
Once your homemade wax blocks fully cool and harden, store them properly to avoid damaging heat and moisture:
- Wrap tightly in plastic wrap or sealed bags
- Keep in a cool, dark place like a basement or cupboard
- Stored this way, rendered wax can last for many years
Well packaged, your homemade beeswax will maintain quality until you need it!
Uses for Rendered Beeswax
Now that you’ve created useful blocks of beeswax by rendering it yourself, here are some of the many things you can do with this versatile natural product:
- Candle Making: Hand dipped and molded candles are the traditional use of rendered wax. Create an array of designs!
- Skin Care: Natural moisturizing creams, balms, lotions and chapsticks can be created using beeswax and oils.
- Furniture Polish: Add beeswax to olive oil or mineral oil to make a nice wood furniture polish.
- Preserve Cheese: Brush rendered wax over cheese rinds to seal and protect.
- Waterproof Fabrics & Leathers: Apply wax to materials to naturally repel moisture. Often used on canvas or leather boots.
- Encaustic Art: Melted beeswax combined with pigments allows unique paint effects once cool and set again.
Explore all kinds of creative beeswax projects now that you have the rendering process mastered! Here are a few recipes to help you get started:
Simple Beeswax Candles
Ingredients:
- Beeswax chunks – 12 oz by weight
- Triple ply cotton wick – precut lengths
Equipment:
- Double boiler
- Thermometer
- Metal pitcher
- Candle molds or votives
- Pencils or chopsticks
Instructions: Melt wax to 150°F in a double boiler. Dip wick ends into the wax to saturate then suspend chopsticks over the container’s mouth. Dip the wicks repeatedly to gradually add layers of wax and achieve desired width. Or pour wax into pre-wicked molds according to vessel depth. Trim wicks before burning.
Easy DIY Lip Balm
Ingredients:
- 1 Tbsp beeswax, finely chopped
- 2-3 Tbsp coconut or olive oil
- Several drops honey
- Several drops vitamin E oil
- Essential oils for scent (optional)
Equipment:
- Double boiler or small pan
- Small spoon or mixer
- Small lip balm pots or tins
Instructions: In your double boiler or pan over very low heat, slowly melt the beeswax while stirring constantly. Once melted, mix in your oils, honey and vitamin E, heating just until combined. Remove from heat. If desired, quickly mix in a few drops of essential oils for scent before the mixture begins to set up. Using your spoon, immediately pour into small lip balm containers and allow to fully cool before use. Apply liberally!
I hope this guide has helped explain the entire beeswax rendering process from start to finish! Let me know if you have any other questions.
Troubleshooting Common Beeswax Rendering Problems

Rendering your own beeswax can sometimes present challenges. Here are solutions to some of the most frequently encountered issues:
Wax Not Fully Melting
If you still see chunks of solid wax after heating for a while, the temperature might be too low. Slowly turn up the double boiler heat to 165°F, stirring the whole time until the wax is all liquid.
Wax Burning or Scorching
If your wax smells burnt or looks very dark brown, take it off the heat right away. The temperature got over 185°F which can hurt the wax. Start over with a lower heat.
Wax Too Soft After Rendering
Pouring wax when it’s hotter than 155°F can make it too soft. Melt your wax again and pour it when it’s between 140-145°F instead to get the right hardness. Let it cool for a full day too.
Mold Release Issues
Lightly grease molds with vegetable oil first if the finished wax is sticking. Let wax blocks cool for a whole day before trying to take them out. If needed, put stubborn molds in the fridge for 15-30 minutes before gently flipping them over.
Cloudy Beeswax After Rendering
If your wax looks foggy or frosty after straining, it got cold too fast before pouring. Heat it up again until the wax looks clear and pours easily into molds at around 150°F. Let the wax cool down very slowly this time.
Debris in Solidified Wax
If you see tiny bits stuck in your finished wax, it wasn’t strained well enough. Melt the wax again and strain it through a finer cloth before pouring it back into molds. Folding cheesecloth over four times can help catch more stuff.
I hope these tips help you fix any problems with cleaning your beeswax! Let me know if you have any other questions about beeswax.
Additional Beeswax Project Ideas
Beeswax has so many helpful and creative uses. Here are some more project ideas to try with your homemade rendered wax:
Make Batik Fabric Dye Blocks
Combine melted beeswax with paraffin wax at a 1:1 ratio. Pour into molds to create wax blocks for batik fabric dyeing techniques.
Seal Envelopes & Letters
Use a beeswax seal stamp to securely close and decorate the backs of envelopes or scrolls with a custom design.
Create Mustache Wax
Blended with butter and oils, add beeswax to emulsifying wax to concoct styling waxes for mustaches and beards.
Make Beeswax Ornaments
Pour rendered wax into christmas ornament molds while adding pine cones or spices for decoration. Display for the holidays!
Preserve Fruit & Cheese
Paint rendered wax over cut fruit, cheese rinds and left over wine bottle ends before refrigerating to protect freshness.
Make Beeswax Crayons
Add beeswax to melted paraffin wax along with powdered pigments. Pour the liquid crayons into molds as it cools. Fun for kids!
The possibilities are endless once you master rendering beeswax yourself. Get creative with these project ideas and let me know how it goes
Conclusion
As you can see, rendering beeswax is a relatively simple process that opens up a world of creative applications for this useful natural product. With just some basic equipment and following the key preparation, melting, filtering, pouring and storage steps outlined above, you can easily render wax from beehives or repurposed products into beautiful new beeswax blocks.
Troubleshooting issues like unmelted granules, burning, odor, cloudiness or debris may happen, but can be resolved by adjusting time, temperature, straining and repouring as needed. Proper handling techniques will give you flawless golden beeswax every time.
FAQs
Cappings wax and brood comb removed from bee frames provides the cleanest source of wax for rendering. Avoid wax from hive bottoms or very old comb.
It’s not recommended. A double boiler allows the most temperature control and maintains an even heat ideal for slowly melting wax without burning.
It’s best to clean while still warm. Use a knife to scrape sides and bottoms first while wax residue is still soft. Then use very hot water to thoroughly wash equipment with mild dish soap, rinse well and air dry.
The type of flowers bees collect nectar from can influence the wax color. But filtering out debris through a very fine strainer also lightens the wax from yellow to paler hues.
Yes, you can consolidate wax from multiple sources in the rendering process with no issues. Just be sure to filter thoroughly after melting to achieve pure clean wax.
Remove it from heat immediately and start over with fresh wax rather than trying to save burnt wax. Rancid wax can ruin a whole batch in the mixing stage.