Honey has been cherished for its delightful taste and numerous health benefits for centuries. Among various types of honey, clover honey stands out for its mild flavor and versatility in culinary and medicinal uses. If you’re a gardener or an aspiring beekeeper tools, cultivating clover in your garden can attract bees and lead to a bountiful harvest of this delightful nectar.
Why Farm Clover Honey?
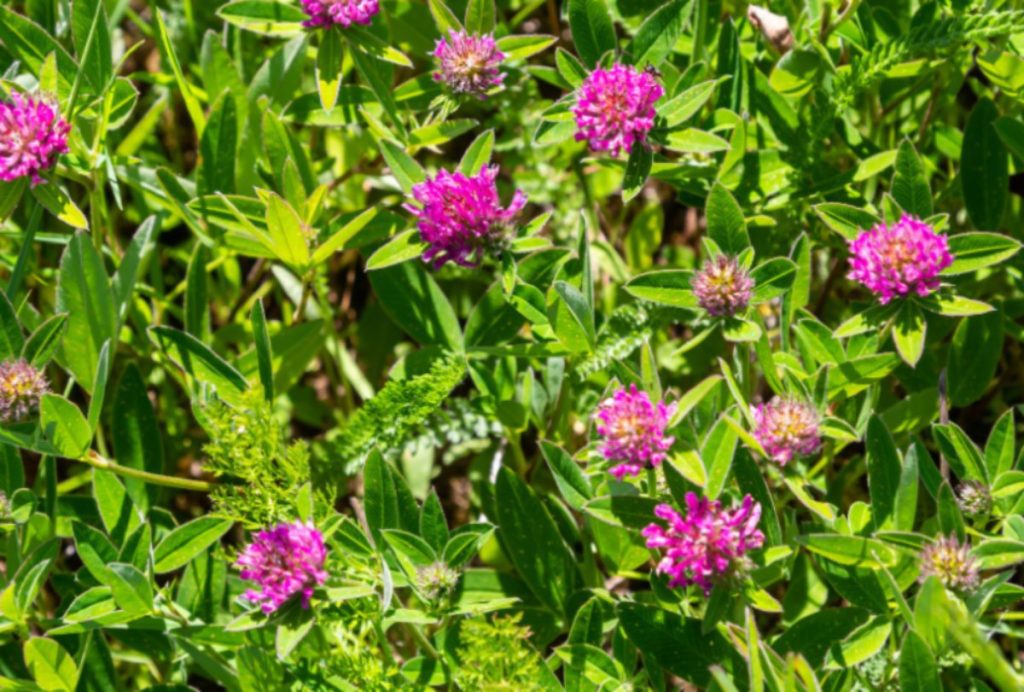
Clover honey is a type of honey that is produced by honeybees from the nectar of clover blossoms. Clover is a plant that belongs to the legume family and includes various species such as white clover, red clover, and sweet clover.
Farmers may choose to cultivate clover for honey production for several reasons:
- Abundance: Clover plants are widely available and grow abundantly in many regions, providing a reliable and abundant source of nectar for honeybees.
- Flavor and aroma: Clover honey is known for its distinctive mild and delicate flavor, with a slightly sweet and floral aroma. This makes it a popular choice among honey consumers.
- Liquid consistency: Clover honey tends to have a liquid consistency, which makes it easier to extract and bottle compared to some other types of honey that crystallize more quickly.
- Color: Clover honey typically has a light golden or pale yellow color, which is appealing to many consumers.
- Crop rotation and soil improvement: In addition to honey production, clover is often grown as a cover crop or green manure in crop rotation systems. It helps fix nitrogen in the soil, improving soil fertility and reducing the need for synthetic fertilizers.
- Pollination services: By cultivating clover fields, farmers provide a valuable food source for honeybees, which in turn pollinate other crops, contributing to overall agricultural productivity.
Best Clover Varieties for Honey Production

Many different clover species exist, but some varieties excel when it comes to producing top quality honey. These are the best types of clover to sow in your hobby bee yard.
White Dutch Clover
This variety is a low-growing, perennial clover that is widely used in pastures and lawns. It is one of the most popular clovers for honey production due to its abundant flowering and nectar production.
Crimson Clover
This is an annual clover variety that blooms profusely in early spring, providing an excellent early nectar source for honeybees.
Alsike Clover
This perennial clover is known for its ability to thrive in cooler climates and its attractive pink-white blossoms, which are rich in nectar.
Red Clover
Red clover is a biennial or short-lived perennial that produces abundant nectar and is highly attractive to honeybees.
Sweet Clover
sweet clover are valuable honey plants, producing a large amount of nectar from their fragrant blossoms.
When to Plant Clovers

The ideal time to plant clovers for honey production varies depending on the specific variety and the local climate.
- Spring planting: Many clover varieties, such as crimson clover, white Dutch clover, and red clover, can be planted in the early spring when the soil temperatures are around 50°F (10°C) and rising.
- Late summer/early fall planting: Some clovers, like crimson clover and sweet clover, can also be planted in late summer or early fall for a spring bloom the following year.
- Frost-seeding: Clovers can be frost-seeded, which involves broadcasting the seeds onto frozen ground in late winter or early spring. As the ground freezes and thaws, the seeds are naturally worked into the soil.
- Overseeding: Clovers can also be overseeded into existing pastures or lawns by broadcasting the seeds onto the established vegetation.
Choosing the Right Clover Planting Location
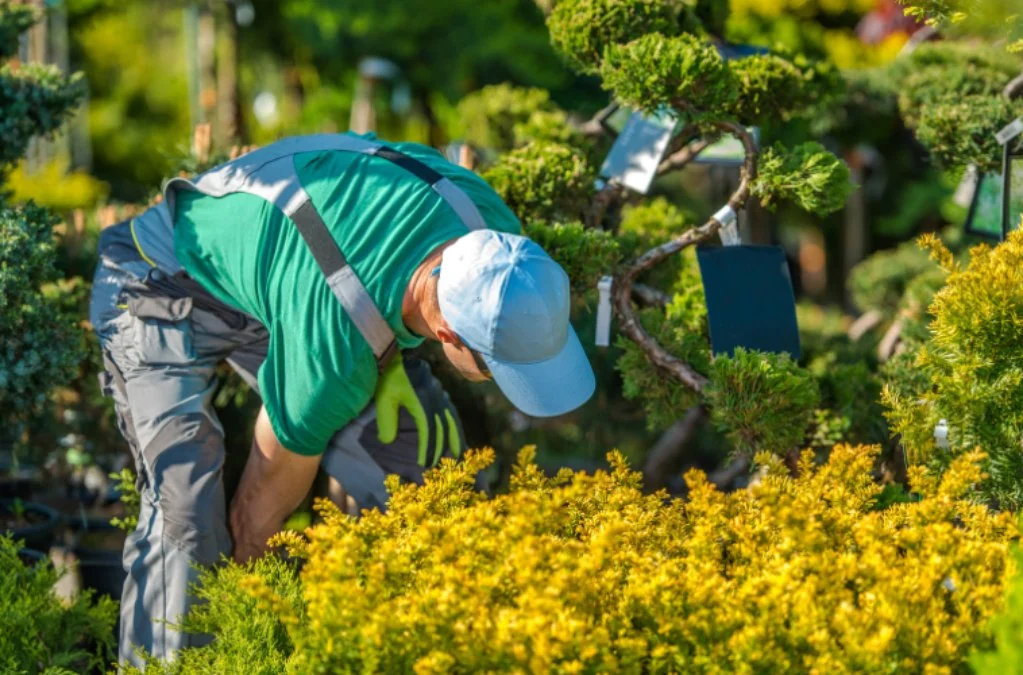
When deciding the best spot on your property for sowing clover honey fields, consider these factors:
- Consider soil type (well-drained, fertile soils are ideal)
- Evaluate sun exposure (most clovers prefer full sun to partial shade)
- Proximity to beehives for efficient pollination
Preparing Clover Planting Beds

Advance soil preparation and planning makes spring clover planting smooth and efficient. Follow these steps to establish optimal growing conditions:
- Select the Right Location: Choose a sunny location with well-drained soil for your clover patch. Most clover varieties prefer full sun, though they can tolerate some light shade. Avoid areas with standing water or poor drainage.
- Test and Amend the Soil: Conduct a soil test to determine the soil’s pH and nutrient levels. Clover grows best in soil with a pH between 6.0 and 7.0. If the soil is too acidic or alkaline, amend it with lime or sulfur, respectively, to achieve the optimal pH range.
- Clear the Area: Remove any existing vegetation, such as weeds or grass, from the planting area. This can be done manually, with a hoe or by covering the area with black plastic for several weeks to kill existing vegetation
- Add Organic Matter: Mix in 2-4 inches of compost, well-rotted manure, or peat moss to improve soil structure and fertility.
How to Plant Clover Seeds
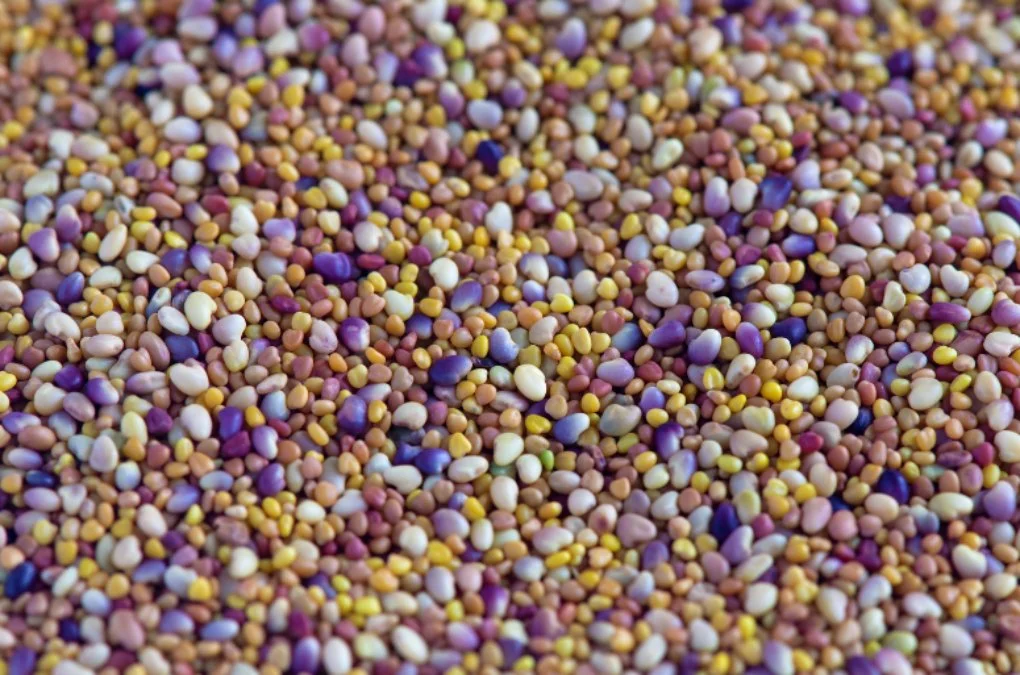
With your clover plots prepped, it’s time to get those seeds distributed. Here’s a simple sowing process for strong germination:
- Prepare the Soil: Choose a planting location that receives full sun to partial shade and has well-drained, moist soil with a pH between 6.0 and 7.0. If needed, amend the soil with lime or sulfur to achieve the desired pH range. Clear the area of weeds, leaves, and debris to allow the seeds to fall on bare soil.
- Select the Right Time: Plant the clover seeds in the early spring, between late summer and early fall. This timing ensures that the seeds have optimal conditions for germination and growth.
- Broadcast the Seeds: Broadcast the clover seeds across the planting area at a rate of about one pound per 1,000 square feet of lawn or as directed on the clover seed package.
- Rake the Seeds: After broadcasting the seeds, gently rake the area to cover the seeds with a thin layer of soil. This helps to protect the seeds from being blown away or
With quality seeds, precise timing and attentive moisture levels, your clovers soon transform into bee-enticing, honey-generating fields.
Caring for Clover Plants

Clover requires surprisingly little upkeep once established thanks to it’s hardy nature. But providing a few key elements makes your planting thrive:
- Watering: Keep the soil consistently moist during the first few weeks after planting. Once established, clover is drought-tolerant, but it will perform better with regular watering.
- Mowing: For lawns, mow clover at 2-3 inches high to encourage spreading and prevent flowering. For cover crops, mow or cut back clover when it reaches 6-8 inches tall to promote new growth.
- Fertilization: Clover, being a legume, fixes nitrogen from the air, so it doesn’t require additional fertilization. However, a balanced fertilizer can promote healthy growth.
- Weed Control: Regularly remove weeds by hand or with an herbicide to prevent competition for water and nutrients.
- Pest and Disease Management: Keep an eye out for pests like aphids, whiteflies, and spider mites, and diseases like powdery mildew and root rot. Use organic or chemical controls as needed.
- Overwintering: In colder climates, clover may go dormant during winter. Apply a layer of mulch or straw to protect the soil and prevent erosion.
- Renovation: After 2-3 years, clover may become less dense. Renovate by raking the soil, adding organic matter, and re-seeding as needed.
With attentive early care while plants establish, clover readily perpetuates itself into hardy trouble-free forage.
Pests & Diseases Affecting Clovers
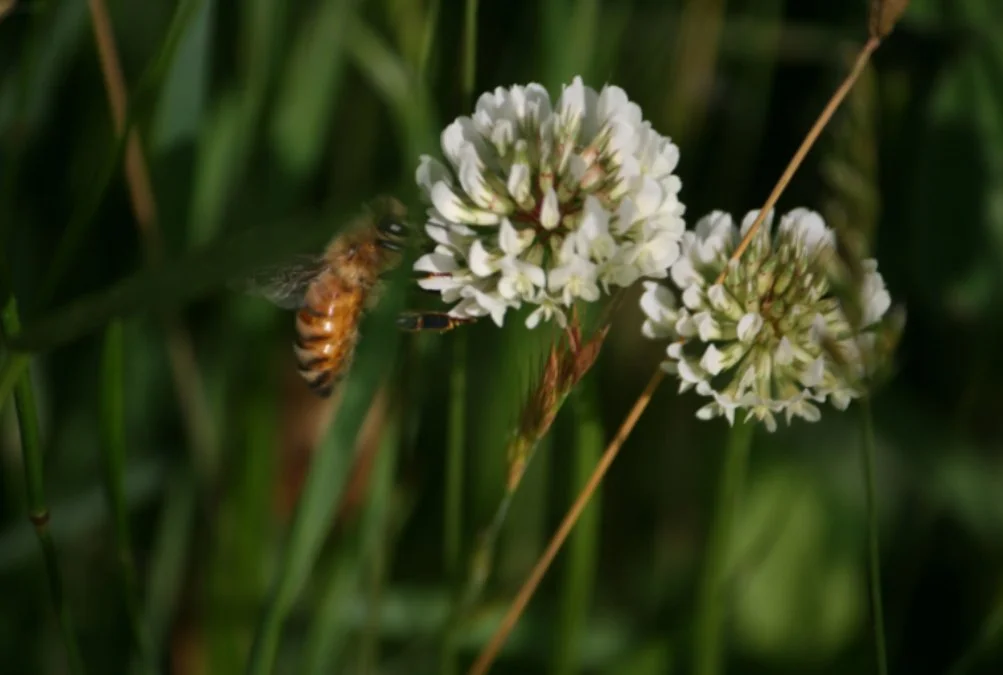
When raised organically, clovers maintain excellent disease and pest resistance. But several potential problems still deserve vigilance:
Clover Mites:
- Tiny arachnids that feed on clover plant sap.
- Cause damage to plant foliage.
- Reddish-brown in color, often found on surfaces near plants.
- Treatment: Insecticidal soap or neem oil spray.
Aphids:
- Common pests that feed on clover plants.
- Cause damage to roots and leaves.
White Grubs:
- Larvae of certain beetles.
- Feed on clover roots, causing significant damage.
Clover Root Rot:
- Fungal disease affecting clover roots.
- Causes yellowing of leaves from base upwards.
- Prevention: Avoid planting in previously infected soil.
Clover Anthracnose:
- Fungal disease affecting leaves and stems.
- Causes small brown/black spots with reddish-purple border.
- Prevention: Avoid poor drainage areas, use fungicides.
Harvesting Clover Honey

After dutifully nurturing your clover patches and patiently awaiting their flowering, at last the magical honey harvest arrives! Follow this guide for collecting golden clover honey from your backyard apiary:
Preparation
Ensure you have all your tools and supplies ready before you begin. This includes protective gear, a smoker to calm the bees, a bee brush to gently remove bees from the frames, and a honey extractor.
Bee Management
Use a bee brush to gently remove bees from the frames you’ll be harvesting honey from. You can also use a bee escape board or a fume board with a bee repellent to drive bees away from the honey frames.
Frame Extraction
Once the bees are removed, carefully remove the frames from the hive. Check that the frames are at least 80% capped, meaning that the honey is ripe and ready for harvest. Uncapped honey may be too watery and can ferment.
Uncapping
Use a heated uncapping knife or a special uncapping fork to remove the wax cappings from the honey cells. This exposes the honey within the cells, making it easier to extract.
Extraction
Place the uncapped frames into a honey extractor, which is a device that uses centrifugal force to spin the honey out of the frames. The honey is then strained through a sieve to remove any wax or debris.
Filtering and Bottling
The extracted honey is typically strained again through a fine mesh to remove any remaining particles. It can then be bottled directly or left to settle in a tank, allowing the air bubbles to rise to the top. After settling, the honey can be poured into clean, sterilized jars for storage.
Post-Harvest
Clean all your tools and equipment thoroughly to prevent the growth of bacteria or mold. Store your honey in a cool, dry place, away from direct sunlight
Troubleshooting Common Clover & Honey Issues
Poor Clover Germination
Reasons for spotty or stunted seedling emergence include old/low quality seed, imperfect sowing depth, dry soils, air pockets from inadequate raking, crusting topsoil after heavy rains and diseased inoculant coating. Overseed thin patches and maintain even moisture.
Yellowed Clover Foliage With Poor Growth
Although a natural nitrogen-fixer, clover still requires some phosphorus for root development and overall vigor. Have soil tested and amend accordingly if necessary to achieve lush green growth. Avoid over-applying nitrogen fertilizer.
Clover Stands Thinning Out After First Year
Dense clover often dominates initially before thinning by the third season as stunted plants die out while the strongest survivors remain. Some thinning by competition is normal. Avoid excessive disturbance to soil or plant crowns which kills plants. Reseed as necessary to boost stand density.
Low Honey Yields From Clover
Ensure colonies have sufficient space to process and store large nectar flows. Supering hives prevents honey-bound congestion in brood boxes. Nearby pesticide use reduces foraging and honey production – isolate apiary from treatments or convert to all organic gardening.
Stay observant of your clover and make appropriate adjustments. Identifying issues early prevents major crop and harvesting headaches.
FAQs
A healthy hive with ample clover forage can produce 75 pounds or more of surplus honey during peak season. Much depends on your region, weather, colony size and clover stand density surrounding hives. Careful site selection and colony management enables hobby beekeepers to harvest 50-100+ pounds of clover honey per hive.
Pure clover honey ranges from water white to light amber depending on floral sources and processing methods. It crystallizes to a creamy color over time. The flavor is mild, sweet and slightly floral. White and yellow sweet clovers make lighter honey while crimson and red clovers produce more gold tones. Many consider clover among the finest all-purpose honeys.
Maximize sunlight, maintain even soil moisture without overwatering, use quality seed, reduce nearby weed competition, inoculate seed properly prior to planting, fertilize lightly only if needed, allow self-reseeding and protect plants from concentrated foot traffic. Healthy stands bloom abundantly while stressed weak clovers invest energy into survival before flowering.
Monitor hives for strong nectar intake, wax capping, rising honey pounds per hive and increasing refractometer honey moisture concentration readings. Wait until at least 75% of cells are fully sealed. Consider pulling the majority of supers once 85-90% show capped. This avoids losing harvestable honey to further ripening or granulation. Extract relatively soon for best flavor.
In areas with prolonged clover flows lasting months, you can harvest multiple times through the season. Wait until supers fill substantially again following initial extraction and remain patient for redevelopment of wax capping before removing each new surplus crop. Avoid taking too much honey and risking colony starvation. Leave at least one full box of capped stores entering winter.
Enjoy Farm Fresh Clover Honey!
Raising beautiful fragrant clover along with bubbly honey bees results in the ultimate collaboration – lush blossoms transformed into sweet, smooth, naturally delicious honey. The art of coaxing nature’s golden nectar from flowering fields right in your own backyard provides immense satisfaction. When you behold crystal clear freshly extracted jars of clover honey direct from your home apiary, all the effort culminates

