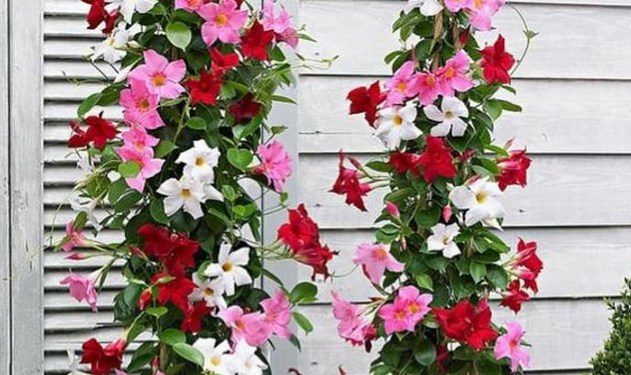
Have you ever seen those stunning shrubs covered in trumpet-shaped flowers in vibrant shades of pink, red, purple, or white? Chances are those are dipladenias, some of the most popular ornamental plants grown for their beautiful and prolifically blooming flowers.
As a gardener with over 10 years of experience growing tropical plants, I’ve developed a particular fondness for dipladenias. Their tropical charm and graceful flowers truly bring a touch of the tropics to any garden.
In this complete guide, I’ll share everything I’ve learned about how to grow and care for these tropical beauties so you can enjoy their blooms in your garden.
A Brief Intro to Dipladenia
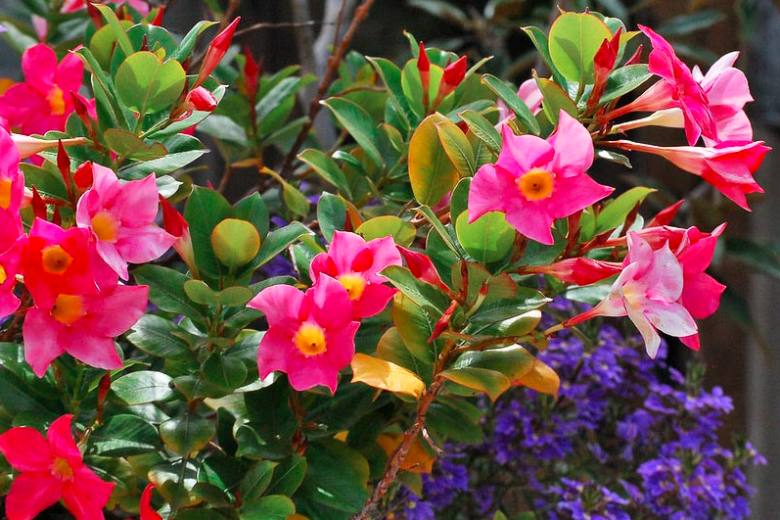
Dipladenia, also known as Mandevilla sanderi, is a woody evergreen shrub native to Brazil. It belongs to the Apocynaceae or dogbane family and the genus Mandevilla.
Some common names for this plant include Brazilian jasmine, bush allamanda, and tropical dipladenia. There are over 120 cultivars available, which offer a wide range of flower colors and growth habits.
Mandevillas are close relatives of dipladenias, but they have a vining growth habit rather than an upright, bushy form. Dipladenias make excellent garden shrubs, while Mandeville is ideal for training on trellises and arbors.
In this post, I’ll focus specifically on growing and caring for dipladenia varieties.
An Overview of Growing Dipladenia
Growing Dipladenia is quite straightforward as long as you can provide the warmth, sunlight, and humidity these tropical plants need.
- Soil – Loose, well-draining soil high in organic matter. Prefers slightly acidic to neutral pH.
- Light – Full sun to part shade. Needs at least 5 hours of direct sun daily.
- Water – Regular watering when the top inch of soil is dry. Avoid overwatering.
- Fertilizer – Balanced liquid fertilizer every 2-4 weeks during growth period.
- Pruning – Prune lightly after flowering to shape the plant and remove dead growth.
- Propagation – Take 4-6 inch tip cuttings and root in moist potting mix. Seeds can also be collected.
- Overwintering – Bring indoors before frost. Needs bright light and reduced watering.
With proper growing conditions and care, Dipladenia will reward you with an abundance of charming flowers from spring to fall. Now, let’s look at each aspect of dipladenia care in more detail.
Choosing the Right Soil for Dipladenia
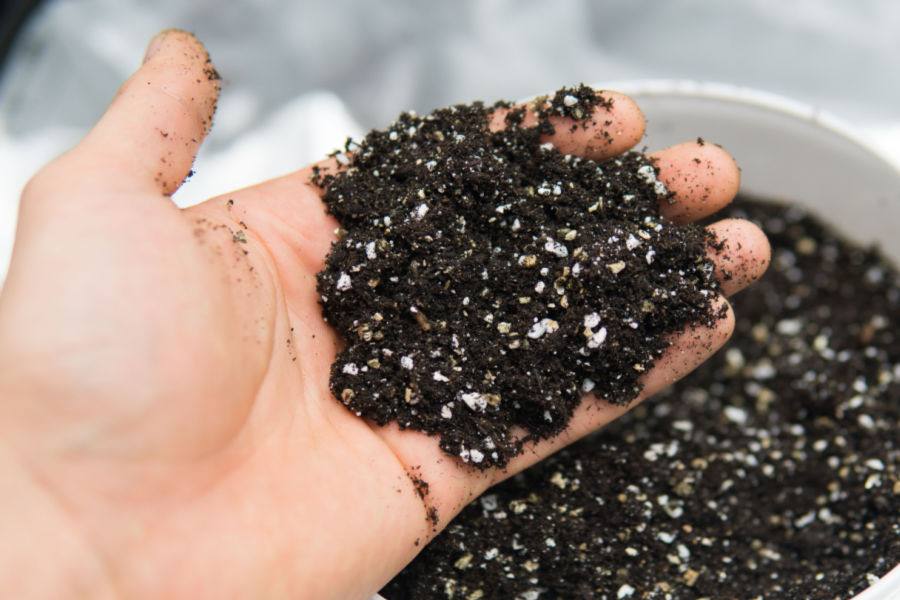
Dipladenia does best in loose, well-draining soil that retains some moisture but also allows excess water to drain away easily. Heavy clay soils or very sandy soils often lead to root problems.
The ideal soil pH for dipladenia is slightly acidic to neutral, around 6.6 to 7.8. Alkaline soils above 7.8 pH can sometimes cause iron and manganese deficiencies, leading to yellowing leaves. Test your soil’s pH if needed.
I recommend amending your in-ground soil with compost or other organic matter like peat moss or leaf mold to improve drainage and moisture retention.
You can also add horticultural sand or perlite to improve aeration and create a loose, loamy texture Dipladenia prefers.
For potted dipladenias, use a high-quality commercial potting mix formulated for tropical plants, or create your mix using:
- 2 parts peat moss or coco coir
- 1 part perlite or vermiculite
- 1 part compost or leaf mold
This will ensure excellent drainage and moisture control in containers.
Light Requirements for Dipladenia
Dipladenia thrives in full sun to partial shade, depending on your climate.
In tropical and subtropical climates, dipladenia can tolerate full sun, provided the soil stays moist. But in hot, dry climates, afternoon shade is beneficial to prevent excess wilting.
Most varieties do best with at least 5-6 hours of direct sunlight daily for the best growth and maximum blooms. Areas with morning sun and afternoon shade are ideal.
Insufficient light leads to weak, leggy growth and sparse flowering. Leaves may also be yellow from lack of light.
If you notice these issues, try moving your dipladenia to the brightest spot available. Supplement with grow lights if needed.
Too much direct sun can also damage dipladenia. Leaves may scorch, turn brown, or shrivel up. Move the plant to partial shade if this happens.
Watering Needs of Dipladenia
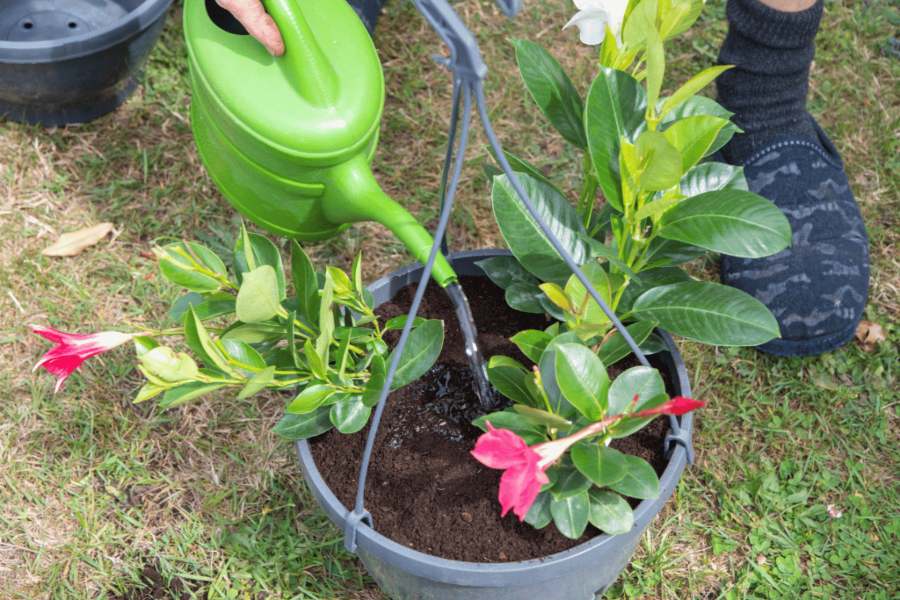
Consistent moisture is key to healthy dipladenia plants. Allow the soil to dry out slightly between waterings, but don’t let it become fully dry.
I recommend watering when the top inch of soil feels dry to the touch. Use your finger to test moisture levels before adding water.
During hot and dry periods, you may need to water every few days. In cooler weather, watering weekly is usually sufficient.
Water thoroughly until it flows from the drainage holes at the bottom of the pot or container. This ensures the entire root zone receives moisture.
Avoid wetting the leaves when watering. This can lead to fungal leaf spots. Drip irrigation or soaker hoses work great to keep soil evenly moist.
Signs of underwatering:
- Wilting or drooping leaves
- Leaves and buds falling off
- Dry, brown leaf edges
Signs of overwatering:
- Yellowing lower leaves
- Leaf spots or blight
- Root rot
Adjust your watering frequency and volume to ensure the soil stays moist but not constantly wet.
Fertilizing Dipladenia for Optimal Growth
During the active growing season from spring to fall, dipladenia benefits from regular fertilizer to look its best. This nourishes the plant for lush foliage growth and abundant flowering.
Use a balanced, water-soluble fertilizer like 10-10-10 or 20-20-20. Dilute it to half or quarter strength and apply every 2-4 weeks from spring until early fall.
Avoid overfertilizing, as this can burn roots and leaves. Follow label directions for amounts.
For container plants, slow-release fertilizer pellets incorporated into the soil mix are convenient and provide a steady nutrient supply for 3-4 months.
Always water the plant thoroughly after fertilizing to avoid root damage. Fertilize less often in winter when growth slows.
Here are some organic options if you prefer to avoid synthetic fertilizers:
- Compost or worm-casting tea
- Fish emulsion
- Seaweed extract
- Diluted compost extract
These provide beneficial microbes and slow-release nutrition without the risk of fertilizer burn.
Pruning Dipladenia for Shape and Health
Dipladenia generally requires only light pruning to maintain its shape and vigorous growth. Here are some tips:
- When to prune – Late winter or early spring is best. Avoid pruning in the fall.
- What to prune – Remove dead or damaged growth first. Then, prune to shape the plant and open up interior areas with poor air circulation.
- How to prune – Use clean, sharp pruners or bypass shears. Make cuts just above outward-facing buds or branches. Avoid leaving stubs.
- How much to prune – Remove no more than 20-25% of total growth. Overrunning stunts blooming.
- Use caution – Dipladenia sap can cause skin irritation. Wear gloves and wash tools afterward.
Trim back wayward or unruly branches to keep the plant full and compact. Remove spent flower spikes after blooming, too.
With a simple annual pruning, you can easily maintain a shapely, healthy dipladenia for years of beauty.
Propagating Dipladenia from Cuttings or Seeds
One of the great benefits of growing dipladenia is how easily it propagates from cuttings. This allows you to create many new plants from a single mother plant very quickly.
Tip cuttings are the most common method. Choose healthy, non-flowering stem tips around 4-6 inches long. Remove the bottom leaves and dip the cut ends in rooting hormone powder.
Stick the cuttings in a moist potting mix 2-3 inches deep. Enclose in a plastic bag or propagation dome to maintain high humidity and keep the soil evenly moist.
Most tip cuttings will root in 4-6 weeks at 70°F to 80°F and can be repotted. Pinch off any flower buds the first year to promote strong roots and foliage growth.
You can also grow dipladenia from seeds collected from spent seed pods. Sow the seeds in sterile seed starting mix, cover lightly, and provide bottom heat of 70°F to 75°F.
Germination takes 1-3 weeks. Grow the seedlings under bright light with even moisture, transplanting them to larger pots as they grow.
Caring for Dipladenia in Winter
As a tropical plant, Dipladenia cannot tolerate any frost or freezing temperatures. It must be brought indoors or protected well before your first expected autumn frost date.
For container plants, move the pots into a bright, protected location indoors. A sunny window or undergrowth lights work well.
For in-ground plants, dig up the roots and repot into containers to overwinter inside. You can also heavily mulch the roots and cover them with a cold frame or fabric row cover.
Provide cooler 55-60°F temperatures with reduced watering over the winter months. Avoid warm rooms, which can trigger premature leaf growth. Check for pests like whiteflies, which thrive indoors.
In spring, after the danger of frost has passed, acclimate the plants back outdoors and resume normal care. With proper overwintering, dipladenia will sail through the winter months.
Troubleshooting Common Dipladenia Problems
While Dipladenia is mostly pest and disease-resistant, you may encounter some occasional issues.
Leaf drop
- Causes: Overwatering, underwatering, temperature stress, or insufficient light
- Solution: Adjust watering, move to a suitable location, increase sunlight
Bud drop
- Causes: Overwatering, underwatering, overfertilizing, or low humidity
- Solution: Adjust watering and fertilizer, increase humidity
Yellow leaves
- Causes: Overwatering, underwatering, nutrient deficiency, pests
- Solution: Check and adjust watering, fertilize, treat pests
Mealybugs, mites, aphids, whiteflies
- Causes: Sap-sucking pests that cause damage
- Solution: Remove manually, spray off with water, apply insecticidal soap
Leaf spots or blight
Causes: Fungal diseases from excess moisture
- Solution: Improve airflow and reduce watering; treat with fungicides if needed
With proper care, you can avoid most issues and enjoy season after season of flowering from dipladenia.
Final Thoughts on Growing Dipladenia
If you love tropical plants or are looking for a flowering shrub that blooms nonstop, Dipladenia is a wonderful choice. Follow this guide, and you’ll have gorgeous dipladenias bursting with colorful blooms.
Here are a few final tips for success with Dipladenia:
- Select varieties suited to your climate. Talk to local nurseries for recommendations.
- Give young plants a trellis or stake for support until they establish.
- Deadhead spent flowers to encourage more blooms.
- Mist plants daily or use a pebble tray for extra humidity.
- Rotate plants to promote even growth and prevent stretch toward light.
Let me know if you have any other dipladenia-growing tips or questions! I hope you enjoy cultivating these tropical beauties as much as I do. Happy gardening!

